How to Fix an Oven That Takes Too Long to Preheat
Hey there, folks in North Vancouver and beyond! If you've ever stood in your kitchen, staring at your oven as it sluggishly crawls toward the right temperature, you're not alone. We've all been there—planning a quick dinner only to realize the preheat light is mocking us with its endless glow. As the team at North Vancouver Appliance Repair, we've fixed countless ovens over the years, and one of the most common complaints we hear is about preheating times that drag on forever. It's frustrating, especially when you're hungry or hosting guests. But the good news? Many of these issues have straightforward solutions, and we're here to walk you through them step by step.
In this article, we'll dive deep into why your oven might be taking its sweet time to preheat, how to diagnose the problem, and what you can do to fix it yourself. If things get too technical or you're not comfortable tinkering, that's where we come in—our expert technicians are just a call away for reliable appliance repair services right here in North Vancouver. We've been serving the community for over a decade, helping families get back to baking, roasting, and enjoying their kitchens without the hassle. Let's get started and turn that slow oven into a speedy one.
First Things First: What's Normal for Oven Preheating?
Before we jump into fixes, it's worth understanding what "too long" really means. Most modern ovens, whether gas or electric, should preheat to around 350°F (about 175°C) in 10 to 15 minutes. Older models might take a bit longer, say up to 20 minutes, depending on factors like the oven's size, your home's voltage, or even the ambient room temperature. If yours is consistently clocking in at 30 minutes or more, that's a red flag something's amiss.
From our experience at North Vancouver Appliance Repair, we've seen everything from minor user errors to major component failures causing this delay. Preheating involves your oven's heating elements or burners ramping up to distribute heat evenly. When that process slows down, it could be wasting energy and potentially leading to uneven cooking—think burnt edges on your cookies while the centers stay doughy. Not ideal, right?
One quick tip we've shared with many clients: Always use an oven thermometer to verify the actual temperature. The built-in dial or digital readout isn't always accurate, and this simple tool (available at most kitchen stores) can save you a lot of guesswork. We've had customers swear their oven was broken, only to find out it was preheating fine but the thermostat was off by 50 degrees. Small checks like this can prevent unnecessary repairs.
Related: Common Causes of Oven Temperature Inconsistencies.
Pinpointing the Culprits: Common Causes of Slow Preheating
Now, let's talk about why this happens. Ovens are complex machines with multiple parts working in harmony, and when one falters, the whole system suffers. Based on the hundreds of service calls we've handled, here are the top reasons your oven might be dragging its feet.
First up: Faulty heating elements. In electric ovens, these are the coils at the top and bottom that glow red-hot. Over time, they can crack, burn out, or develop hot spots, reducing their efficiency. We've pulled out elements that looked fine on the surface but were barely functioning underneath. For gas ovens, the igniter—a small ceramic part that sparks the gas—might be weak or failing, causing delayed ignition and slower heat-up.
Another big one is thermostat problems. The thermostat senses the oven's temperature and signals the heating system to kick in or shut off. If it's calibrated wrong or damaged, it might think the oven is hotter than it is, leading to intermittent heating. We've seen this a lot in older homes around North Vancouver, where fluctuating power or wear and tear takes a toll.
Don't overlook the door seal, either. That rubber gasket around the oven door keeps heat inside. If it's cracked, dirty, or loose, heat escapes like air from a leaky tire, forcing the oven to work harder and longer to reach temperature. We've fixed seals that were so worn they were letting out enough heat to warm the kitchen floor—inefficient and a fire hazard waiting to happen.
Ventilation issues can play a role too. Ovens need proper airflow to distribute heat. Blocked vents, either inside the oven or at the back of the appliance, can trap heat unevenly. And if your oven is crammed into a tight space without enough clearance, that exacerbates the problem. We've encountered setups where cabinets were built too close, turning the oven into a slow-cooking sauna.
Electrical or gas supply problems shouldn't be ignored. Low voltage in your home's wiring can weaken electric ovens, while low gas pressure affects gas models. In our coastal North Vancouver climate, with its rainy winters, we've seen corrosion in gas lines or electrical connections that sneakily slow things down.
Lastly, user habits matter. Preheating with the door open (guilty as charged for some of us), overloading racks, or even using the wrong cookware can indirectly contribute. But if it's a persistent issue, it's likely mechanical.
Spotting these causes early can save you money. We've had clients wait until their oven completely died before calling, turning a simple fix into a major overhaul.
Related: Oven Not Heating? Here’s What Might Be Wrong
Step-by-Step Troubleshooting: Diagnose Like a Pro
Alright, time to roll up your sleeves. Troubleshooting doesn't require fancy tools—just some patience and safety precautions. Always unplug the oven or shut off the gas before poking around, and if you're unsure, give us a shout at North Vancouver Appliance Repair. We'd rather prevent an accident than fix one.
Step 1: Check the basics. Ensure your oven is level—use a spirit level on the top. An unlevel oven can cause uneven heating. Also, confirm your power source: For electric, test the outlet with another appliance. For gas, listen for the igniter click; if it's faint, that's a clue.
Step 2: Inspect the door seal. Close the door on a piece of paper; if it slides out easily, the seal's shot. Clean it with a mild soap solution—built-up grease can weaken it. We've replaced seals in under 30 minutes on site, restoring preheat times instantly.
Step 3: Test the heating elements. For electric ovens, turn it on and watch if both top and bottom elements heat evenly. If one stays dark, it's probably bad. You can use a multimeter to check resistance (aim for 20-40 ohms), but if that's Greek to you, that's okay—we handle that daily.
Step 4: Calibrate the thermostat. Many ovens have a calibration feature in the settings menu. Consult your manual (or search online for your model). Adjust in small increments, say 10 degrees, and test with that thermometer I mentioned. We've calibrated thermostats for clients who thought they needed a new oven, saving them hundreds.
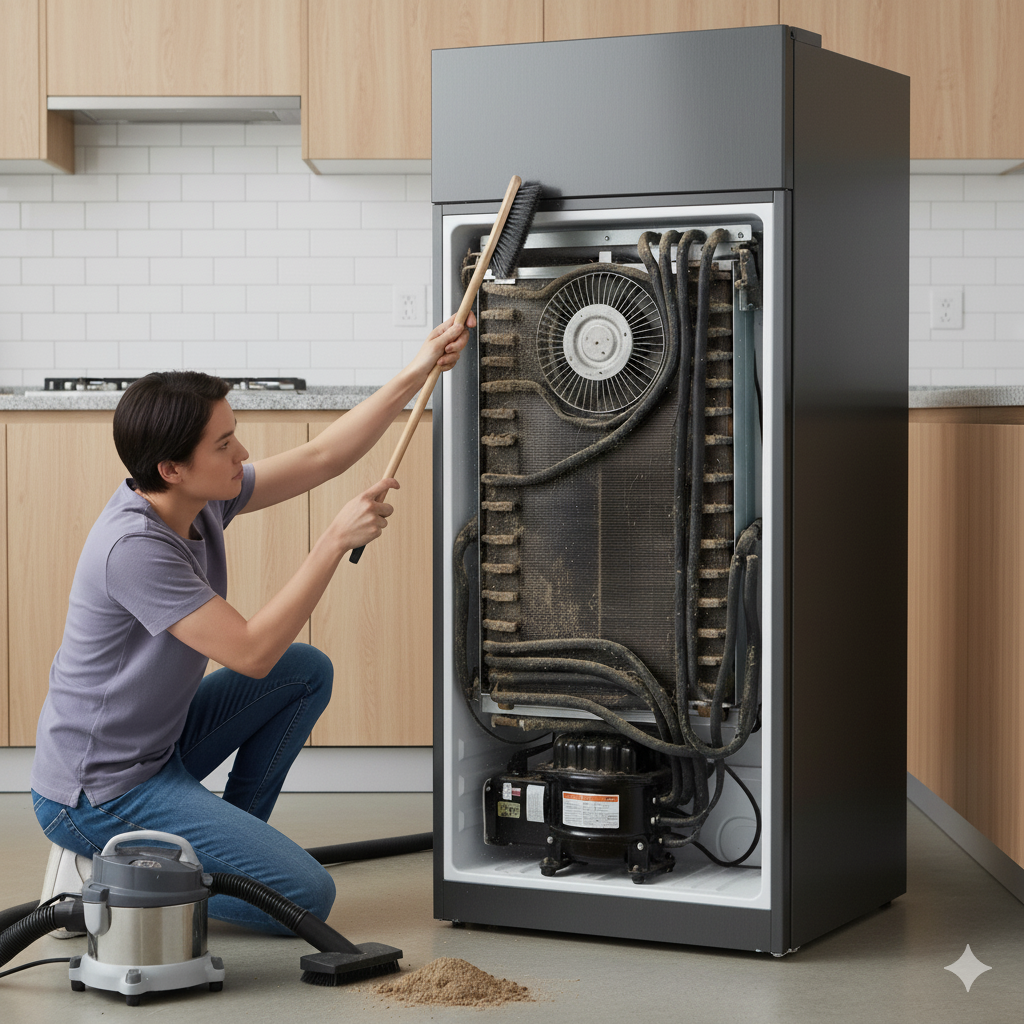
Step 5: Clear vents and racks. Remove all racks and clean them thoroughly. Check the oven's exhaust vent for blockages—lint or food debris loves to hide there. Ensure at least 5 inches of space around the oven for airflow.
Step 6: Monitor for error codes. Modern ovens display codes like F1 or E2—look them up in your manual. These often point to sensor or control board issues, which might need professional attention.
If after these steps your oven still lags, note down symptoms: Does it heat at all? Is there a smell? This info helps when you call pros like us.
Troubleshooting like this has helped our team diagnose issues over the phone sometimes, getting you back to cooking faster.
DIY Fixes: Hands-On Solutions for the Brave
If you've pinpointed the issue, some fixes are DIY-friendly. Remember, safety first—wear gloves and eye protection.
For a bad heating element: Order a replacement matching your model (sites like Amazon or local parts stores have them). Unscrew the old one (usually two screws), disconnect wires carefully, and swap in the new. We've guided clients through this via video calls, and it's often under $50 in parts.
Thermostat replacement is trickier but doable. It's usually behind the control panel. Disconnect power, remove knobs and screws, and swap the sensor. Test thoroughly after.
Seal replacement: Peel off the old gasket (it might clip or screw in) and press the new one into place. Super simple, and kits cost around $20.
For gas igniters: These screw out from the burner area. Replace with an exact match to avoid gas leaks—definitely test for leaks with soapy water afterward.
If it's a control board, that's advanced—best left to experts, as wiring can be finicky.
We've seen DIYers succeed with these, but if it feels overwhelming, our North Vancouver team offers affordable on-site repairs, often same-day.
Knowing When to Call in the Experts
Sometimes, the problem runs deeper—like a faulty control board, wiring issues, or gas valve problems. Signs include strange noises, burning smells, or no heat at all. In these cases, DIY can make things worse or void warranties.
At North Vancouver Appliance Repair, we're equipped to handle it all. Our certified techs use genuine parts and offer warranties on work. Whether it's a quick element swap or a full diagnostic, we've got you covered. Living in North Vancouver means dealing with humid weather that accelerates wear, so regular check-ups pay off.
Don't wait—slow preheating can lead to higher energy bills or safety risks. Give us a call; we're local, reliable, and passionate about keeping your appliances running smoothly.
Prevention Tips: Keep Your Oven in Top Shape
An ounce of prevention, as they say. Clean your oven monthly—self-clean cycles help, but avoid overusing them as they stress components. Use oven liners to catch spills.
Schedule annual maintenance: Check seals, clean vents, and test elements. We offer maintenance packages that catch issues early.
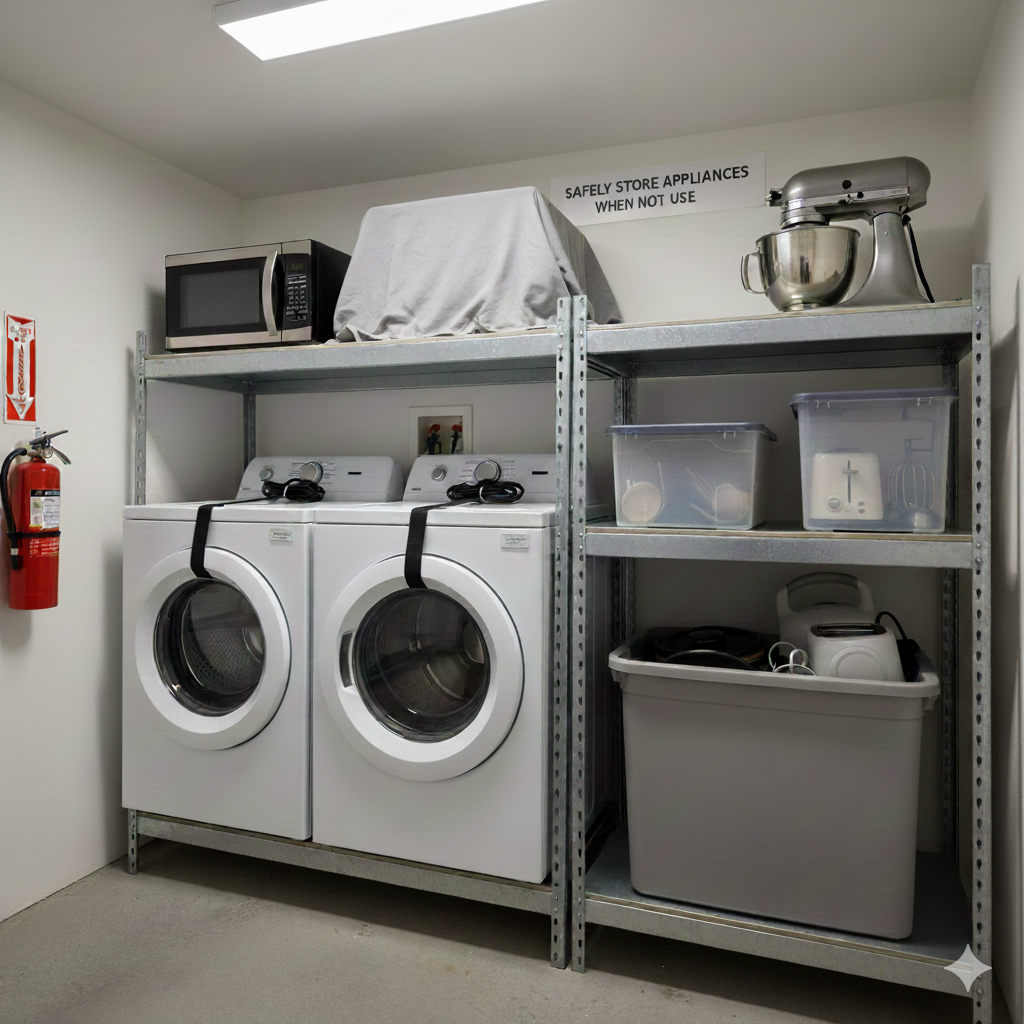
Store your oven properly if seasonal—cover vents to keep dust out.
And always use it as intended: Preheat empty, avoid foil on the bottom, and don't overload.
Following these keeps preheat times snappy and extends your oven's life.
Wrapping It Up: Get Back to Baking
There you have it—a comprehensive guide to tackling that sluggish oven preheat. From causes to fixes, you've got the tools to diagnose and repair. But if it's beyond your comfort zone, remember, North Vancouver Appliance Repair is here to help. Contact us today at https://northvancouverappliances.ca for prompt, professional service. Your kitchen deserves the best—let's make it happen!