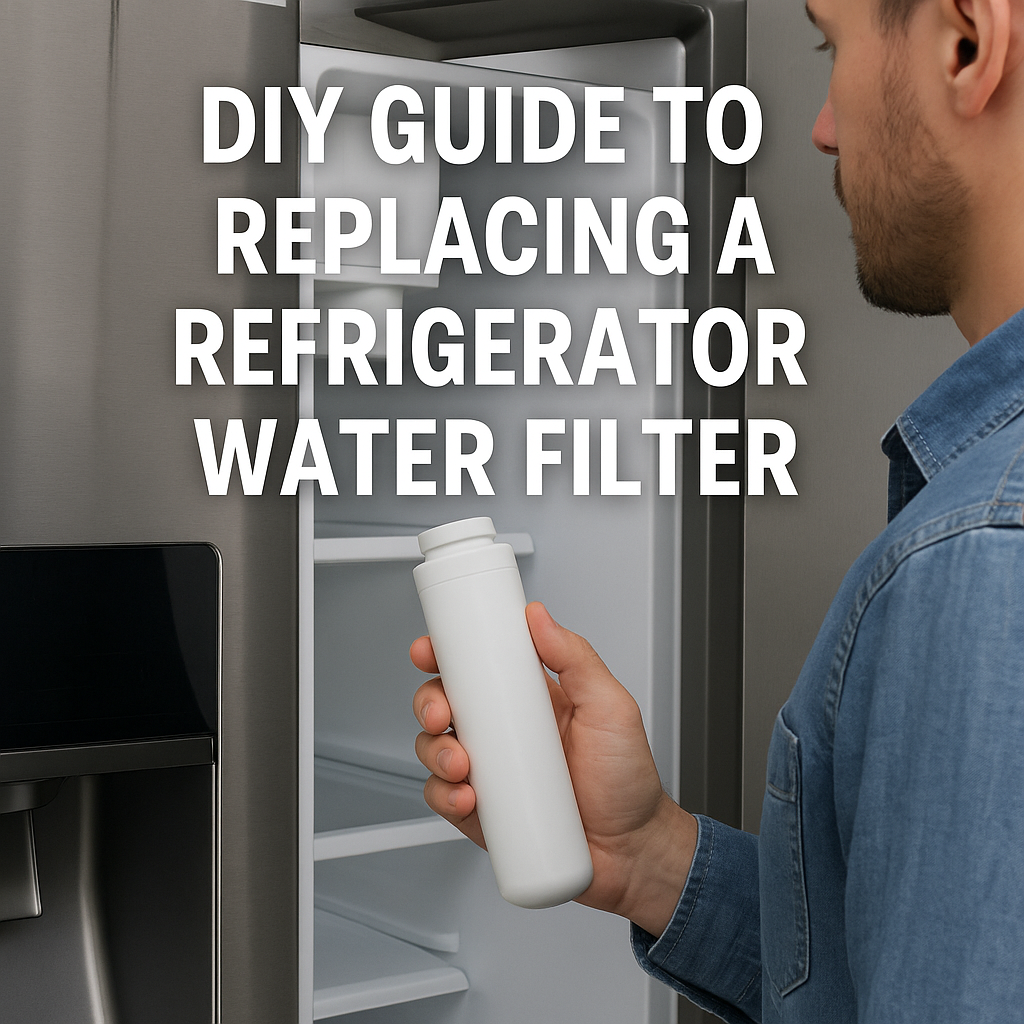
A refrigerator water filter is a small but crucial component that ensures the water and ice dispensed from your fridge are clean, safe, and free from contaminants. Over time, these filters can become clogged with impurities, reducing water flow, affecting taste, and even allowing harmful substances to pass through. Replacing your refrigerator water filter is a simple DIY task that can improve the quality of your drinking water, extend the life of your appliance, and save you from costly professional service calls. Whether you’re a seasoned DIYer or a complete beginner, this guide will empower you to tackle this essential maintenance task with confidence.
Why Replacing Your Refrigerator Water Filter Matters
Refrigerator water filters are designed to remove contaminants such as chlorine, lead, mercury, and other impurities from your water supply. According to the Environmental Protection Agency (EPA), these filters can reduce up to 99% of certain contaminants, ensuring your water and ice are safe to consume. However, most filters have a lifespan of 6 months or 200–500 gallons of water, depending on usage and water quality. When a filter reaches the end of its life, it can:
- Reduce Water Flow: A clogged filter restricts water flow, making it slow to dispense water or produce ice.
- Affect Taste and Odor: Old filters may fail to remove chlorine or other substances, leading to unpleasant tastes or smells.
- Allow Contaminants Through: An expired filter can no longer effectively trap impurities, potentially exposing you to harmful substances.
- Strain the Refrigerator: Reduced water flow can put extra strain on the fridge’s water system, potentially leading to other issues.
Replacing the filter on time ensures your water stays clean, your ice tastes fresh, and your refrigerator operates efficiently. Plus, it’s a quick and affordable task—most filters cost between $30 and $60, and the replacement process takes just 10–15 minutes.
Tools and Materials Needed
Before you start, gather the following:
- Replacement Water Filter: Compatible with your refrigerator model.
- Towel or Rag: To catch any water spills.
- Bucket or Container: For managing drips.
- Owner’s Manual: To locate the filter and confirm the replacement process.
- Gloves (Optional): For a better grip or to keep your hands clean.
- Flashlight (Optional): If the filter is in a hard-to-see area.
For more on essential tools for appliance maintenance, check out our guide on Essential Tools for Appliance Repair.
Step 1: Identify the Right Replacement Filter
The first step in replacing your refrigerator water filter is ensuring you have the correct replacement. Using the wrong filter can lead to leaks, poor filtration, or even damage to your fridge.
Find Your Refrigerator Model Number
Locate your refrigerator’s model number, typically found on a sticker inside the fridge (on the wall near the door or behind the crisper drawers) or in the owner’s manual. The model number helps you identify the compatible filter.
Check the Filter Type
Refrigerators use different types of water filters, depending on the brand and model:
- Push-In Filters: Common in brands like Whirlpool and Maytag, these are usually located inside the fridge, often in the upper right corner.
- Twist-In Filters: Found in Samsung and LG models, these require a quarter-turn to remove and are often located in the fridge compartment or behind a panel at the bottom.
- In-Line Filters: Used in older models, these are installed on the water line behind the fridge.
- Base Grille Filters: Common in Frigidaire and Kenmore models, these are located at the bottom front of the fridge.
Your owner’s manual or the existing filter itself will usually indicate the part number (e.g., Whirlpool 4396841, Samsung DA29-00020B).
Purchase the Filter
You can buy replacement filters from:
- The manufacturer’s website.
- Appliance parts retailers like Home Depot or Canadian Tire.
- Online marketplaces like Amazon (ensure the seller is reputable to avoid counterfeit filters).
For help choosing the right parts, see our guide on Selecting the Right Refrigerator Parts.
Step 2: Prepare Your Refrigerator
Before replacing the filter, take a few preparatory steps to ensure a smooth process:
- Turn Off the Water Supply: Locate the water shut-off valve for your fridge (usually under the sink or behind the fridge) and turn it off to prevent water from flowing during the replacement.
- Unplug the Refrigerator: For safety, disconnect the fridge from the power source to avoid any electrical issues.
- Clear the Area: Remove items from the top of the fridge or in front of the filter location to give yourself ample working space.
- Lay Down a Towel: Place a towel or bucket under the filter area to catch any water that may drip during the process.
Step 3: Locate the Water Filter
The filter’s location depends on your refrigerator model:
- Inside the Fridge: Often in the upper right corner or behind a compartment door. Look for a small panel or a filter housing.
- Bottom Grille: At the base of the fridge, behind a removable grille or panel.
- Behind the Fridge: For in-line filters, you’ll need to pull the fridge away from the wall to access the water line.
If you’re having trouble finding the filter, consult your owner’s manual or check the manufacturer’s website for your specific model.
Step 4: Remove the Old Water Filter
The removal process varies by filter type, but here’s how to handle the most common ones:
Push-In Filters
- Open the filter compartment door (usually a small panel inside the fridge).
- Press the release button or pull the filter straight out. Some filters may have an eject button to pop the filter out.
- Be prepared for a small amount of water to drip as you remove the filter—keep your towel handy.
Twist-In Filters
- Locate the filter housing (inside the fridge or at the bottom grille).
- Turn the filter counterclockwise (usually a quarter-turn) to unlock it.
- Pull the filter out gently. You may hear a slight “pop” as it releases.
Base Grille Filters
- Remove the grille at the bottom of the fridge by unsnapping it or removing screws.
- Turn the filter counterclockwise to release it, then pull it out.
- Some models may require you to press a release button first.
In-Line Filters
- Pull the fridge away from the wall to access the water line.
- Locate the filter on the water line (it looks like a small cylinder with inlet and outlet tubes).
- Use a wrench to loosen the compression nuts on either side of the filter, then remove it.
For more on safely accessing refrigerator components, see our guide on Safely Disassembling Your Refrigerator.
Step 5: Install the New Water Filter
Now that the old filter is out, it’s time to install the new one:
Prepare the New Filter
- Remove any protective caps or packaging from the new filter.
- Check for an O-ring or gasket on the filter—if it’s missing or damaged, contact the manufacturer for a replacement.
- Some filters require soaking in water for 5–10 minutes before installation to activate the carbon media. Check the filter’s instructions.
Install the Filter
- Push-In Filters: Align the new filter with the housing and push it in until it clicks into place. Close the compartment door.
- Twist-In Filters: Insert the filter into the housing and turn it clockwise (quarter-turn) until it locks.
- Base Grille Filters: Insert the filter into the housing, turn it clockwise to lock it, and reattach the grille.
- In-Line Filters: Connect the new filter to the water line, ensuring the flow direction (usually marked with an arrow) matches the water flow. Tighten the compression nuts securely.
Step 6: Flush the New Filter
After installing the new filter, you’ll need to flush it to remove air and carbon particles:
- Turn the water supply back on.
- Run 1–2 gallons of water through the dispenser (about 3–5 minutes of continuous dispensing). You may notice cloudy water or small black particles—these are normal and will clear up.
- If your fridge has an ice maker, discard the first 1–2 batches of ice to ensure all impurities are flushed out.
Step 7: Reset the Filter Indicator (If Applicable)
Many modern refrigerators have a filter change indicator light on the control panel. After replacing the filter, reset the indicator:
- Whirlpool/Kenmore: Press and hold the “Filter Reset” button for 3 seconds until the light turns off.
- Samsung: Press and hold the “Alarm” or “Ice Type” button for 3–5 seconds.
- LG: Press and hold the “Reset” button for 3 seconds.
- Frigidaire: Press and hold the “Water Filter” button for 3 seconds.
Check your owner’s manual for specific instructions, as the process varies by model.
Step 8: Test and Monitor
Run a glass of water through the dispenser to check for proper flow and taste. Inspect the filter area for any leaks. If everything looks good, plug the refrigerator back in and return it to its normal position.
Monitor the filter over the next few days:
- Check for leaks around the filter housing.
- Ensure the water and ice taste clean and fresh.
- Verify that the water flow has improved compared to the old filter.
Troubleshooting Common Issues
Even with a straightforward task like replacing a water filter, you might encounter some challenges. Here’s how to address them:
- Filter Won’t Come Out: If the filter is stuck, try turning it in the opposite direction first to loosen it. Apply gentle pressure or use gloves for a better grip. Avoid using excessive force, as this can damage the housing.
- Leaks After Installation: Ensure the filter is securely installed and the O-ring is in place. If leaks persist, turn off the water supply and reinstall the filter, checking for any damage to the housing or connections.
- Slow Water Flow After Replacement: You may not have flushed the filter long enough. Run another 1–2 gallons of water through the dispenser. If the issue continues, there may be a blockage in the water line—see our guide on How to Unclog Your Refrigerator Water Line.
- Filter Indicator Won’t Reset: Double-check the reset procedure in your manual. If the light still doesn’t reset, there may be an issue with the control board, which might require professional attention.
For more on handling refrigerator issues, read Troubleshooting Common Refrigerator Problems.
When to Replace Your Water Filter
Most manufacturers recommend replacing the water filter every 6 months, but this can vary based on:
- Water Usage: If you use the dispenser frequently, you may need to replace the filter sooner (e.g., every 200–300 gallons).
- Water Quality: If your tap water has high levels of sediment or contaminants, the filter may clog faster.
- Indicator Light: Many fridges have a filter change light that alerts you when it’s time to replace the filter.
Even if you don’t use the dispenser often, it’s best to stick to the 6-month schedule to ensure the filter remains effective.
Benefits of Regular Filter Replacement
Replacing your water filter on schedule offers several benefits:
- Improved Water Quality: Ensures your water and ice are free from contaminants.
- Better Appliance Performance: Prevents strain on the water system, reducing the risk of other issues like a clogged line or overworked ice maker.
- Cost Savings: Avoids the need for bottled water and protects your fridge from damage that could lead to costly repairs.
- Environmental Impact: Reduces reliance on single-use plastic water bottles, contributing to a more sustainable lifestyle.
When to Call a Professional
While replacing a water filter is typically a DIY task, some situations may require professional help:
- Persistent Leaks: If you can’t stop a leak after reinstalling the filter, there may be an issue with the housing or water line.
- Damaged Filter Housing: If the filter compartment is cracked or broken, a technician can replace it.
- Complex Models: Some high-end refrigerators have integrated water systems that are tricky to access without specialized knowledge.
For guidance on when to seek help, see our article on When to Call a Professional for Appliance Repairs.
Tips for Maintaining Your Refrigerator Water System
To keep your refrigerator’s water system in top shape:
- Check Water Quality: If your tap water is particularly hard or contains high levels of sediment, consider installing a whole-house water filter to reduce strain on the fridge filter.
- Clean the Dispenser: Wipe down the water and ice dispenser regularly to prevent mold or bacteria buildup.
- Monitor the Ice Maker: If ice production slows down or the ice tastes off, it might be time to replace the filter or check for other issues.
- Keep Records: Note the date of each filter replacement to stay on schedule.
For more maintenance tips, visit How to Maintain Your Refrigerator for Efficiency.
Conclusion
Replacing a refrigerator water filter is a quick and straightforward task that can have a big impact on your water quality, appliance performance, and overall household efficiency. By following this DIY guide from northvancouverappliances.ca , you can ensure your fridge continues to provide clean, fresh water and ice without the need for professional help. With just a few minutes of effort every 6 months, you’ll protect your health, save money, and contribute to a more sustainable lifestyle. If you encounter any challenges or have other appliance concerns, explore our other resources or reach out for expert advice. Happy filtering!