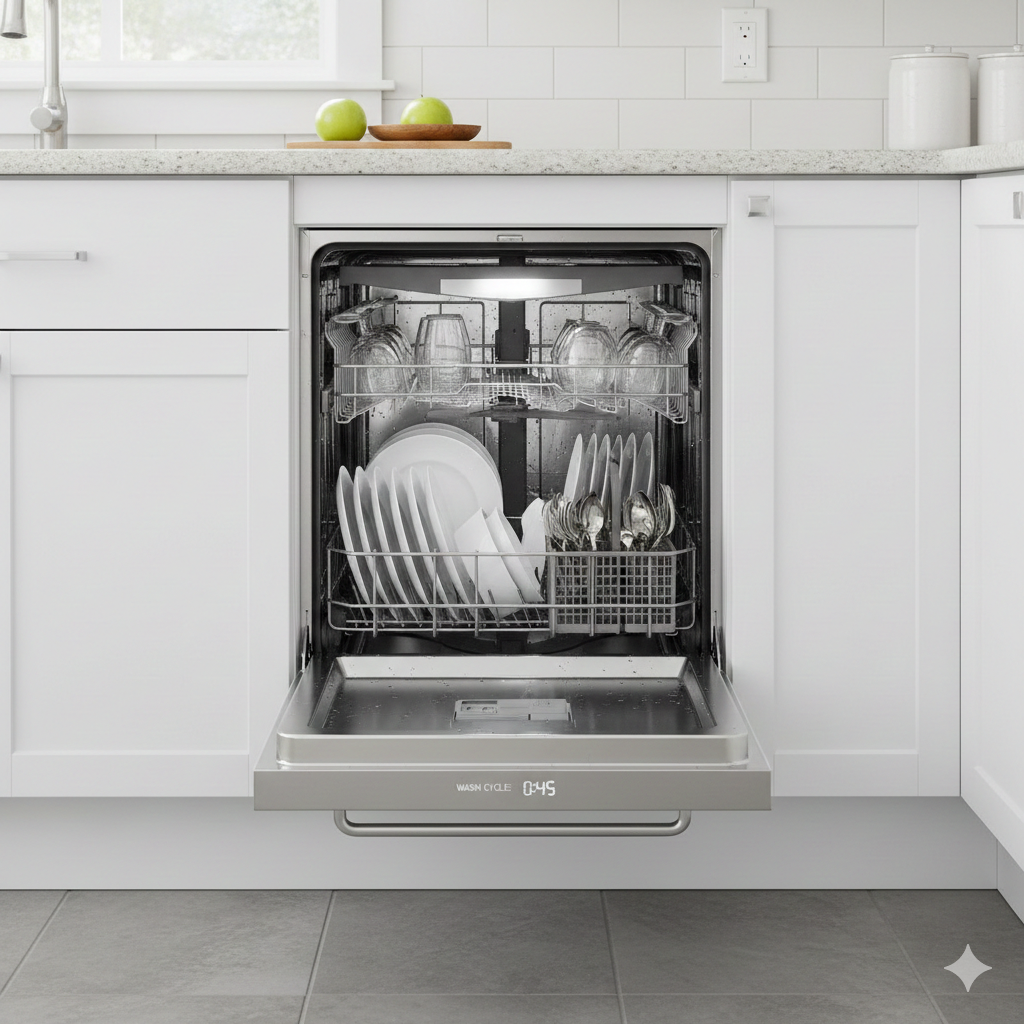
A dishwasher is a cornerstone of modern kitchen convenience, saving time and effort on daily dishwashing tasks. However, like any appliance, it requires regular maintenance to ensure long-term performance, efficiency, and reliability. Neglecting maintenance can lead to issues like poor cleaning, unpleasant odors, or costly repairs. For North Vancouver residents, we’ll also highlight how North Vancouver Appliance Repair can assist with professional maintenance and repair services when needed. Visit northvancouverappliances.ca to learn more about our expert solutions for all major dishwasher brands.
Why Dishwasher Maintenance Matters
Regular maintenance extends your dishwasher’s lifespan, improves cleaning performance, and prevents unexpected breakdowns. A well-maintained dishwasher also saves water and energy, reducing utility bills and environmental impact. Common issues like clogged filters, leaking hoses, or faulty pumps can often be avoided with simple care. This guide covers everything from routine cleaning to advanced troubleshooting, empowering you to keep your dishwasher in top shape.
Step 1: Clean the Dishwasher Regularly
Why Cleaning Is Essential
Food particles, grease, and detergent residue can accumulate inside your dishwasher, leading to clogs, odors, and reduced cleaning efficiency. Regular cleaning keeps the interior fresh and functional.
How to Clean Your Dishwasher
- Clean the Filter: Most dishwashers have a removable filter at the bottom of the tub. Check your manual to locate it, then remove and rinse it under warm water monthly. Use a soft brush to scrub away debris.
- Wipe the Interior: Use a damp cloth with mild dish soap to clean the door, gasket, and interior walls. Pay attention to the door seal, where mold can grow.
- Run a Vinegar Cycle: Place a dishwasher-safe bowl with 1 cup of white vinegar on the top rack and run a hot-water cycle (empty dishwasher). This removes grease and limescale buildup.
- Baking Soda Rinse: Sprinkle ½ cup of baking soda on the bottom of the dishwasher and run a short hot cycle to deodorize and clean.
Frequency
Clean the filter monthly, wipe the interior bi-monthly, and run a vinegar or baking soda cycle every 2–3 months, depending on usage.
Related: Why Is My Dishwasher Making Strange Noises?
Pro Tip
For stubborn odors or buildup, North Vancouver Appliance Repair offers deep-cleaning services to restore your dishwasher’s performance. Our technicians use professional-grade cleaners to tackle hard-to-reach areas, ensuring your appliance stays fresh.
Step 2: Inspect and Maintain the Spray Arms
The Role of Spray Arms
Spray arms distribute water to clean dishes. Clogged or damaged spray arms result in poor cleaning, leaving dishes dirty or spotty.
How to Inspect and Clean
- Remove the Spray Arms: Consult your manual to detach the upper and lower spray arms (usually by unscrewing or unclipping).
- Check for Clogs: Inspect the holes for food particles or mineral buildup. Use a toothpick or small brush to clear blockages.
- Rinse Thoroughly: Run the arms under warm water to flush out debris.
- Check for Damage: Look for cracks or wear. If damaged, replace the spray arm with a compatible part for your model (e.g., Bosch, Whirlpool, or Samsung).
Reinstallation
Ensure the spray arms are securely reattached and spin freely before running the dishwasher.
When to Seek Help
If cleaning doesn’t improve performance or the arms are damaged, North Vancouver Appliance Repair can source and install replacement parts, ensuring optimal water flow and cleaning efficiency.
Step 3: Check the Door Gasket and Seals
Why the Gasket Matters
The door gasket creates a watertight seal, preventing leaks and ensuring efficient operation. A worn or dirty gasket can cause leaks, mold growth, or water retention.
Maintenance Steps
- Inspect the Gasket: Check the rubber seal around the door for cracks, tears, or discoloration.
- Clean Regularly: Wipe the gasket with a damp cloth and mild soap weekly to remove food particles and mold. Avoid abrasive cleaners that can damage the rubber.
- Test the Seal: Close the door on a piece of paper. If it pulls out easily, the gasket may need replacement.
Replacement
If the gasket is damaged, order a replacement specific to your dishwasher model. Installation is straightforward but requires precision to ensure a tight seal.
Related: How to Fix a Dishwasher That Won’t Start
Professional Assistance
Leaking dishwashers can damage your kitchen floor. If you notice persistent leaks, contact North Vancouver Appliance Repair for expert gasket replacement and door alignment services.
Step 4: Maintain the Water Inlet Valve and Hoses
The Role of the Water Inlet System
The water inlet valve and hoses control water flow into the dishwasher. Blockages or damage can lead to insufficient water, affecting cleaning performance.
How to Inspect
- Check Water Supply: Ensure the water supply valve (under the sink or behind the dishwasher) is fully open.
- Inspect Hoses: Unplug the dishwasher and pull it out (if possible) to check the inlet hose for kinks, cracks, or leaks.
- Clean the Inlet Valve Filter: Some valves have a screen that can clog with sediment. Turn off the water supply, disconnect the hose, and clean the screen with a brush.
Solutions
- Clear Blockages: Flush hoses with water to remove debris.
- Replace Damaged Parts: If the hose or valve is damaged, replace it with a compatible part.
- Test Water Flow: Run a short cycle to ensure adequate water enters the dishwasher.
When to Call a Pro
Water inlet issues can be complex, involving electrical components. North Vancouver Appliance Repair offers same-day service to diagnose and fix water flow problems, preventing costly water damage.
Step 5: Monitor the Drain System
Why the Drain System Matters
A clogged or faulty drain system can cause water to pool in the dishwasher, leading to poor cleaning and odors.
Maintenance Steps
- Check the Drain Filter: In addition to the main filter, some dishwashers have a separate drain filter. Clean it monthly to prevent clogs.
- Inspect the Drain Hose: Ensure the hose isn’t kinked or clogged. Run a plumber’s snake through it to clear blockages.
- Test the Drain Pump: Listen for unusual noises (e.g., grinding) during the drain cycle, which may indicate a failing pump.
Solutions
- Clear Clogs: Use a wet/dry vacuum or snake to remove blockages from the drain hose.
- Replace the Pump: If the pump is faulty, replacement is best handled by professionals due to electrical and plumbing complexity.
Expert Support
Persistent drainage issues require expert diagnostics. North Vancouver Appliance Repair specializes in drain system repairs for brands like LG, KitchenAid, and GE, ensuring your dishwasher drains efficiently.
Step 6: Use the Right Detergent and Settings
Importance of Detergent and Cycles
Using the wrong detergent or settings can affect cleaning performance and leave residue on dishes or inside the machine.
Best Practices
- Choose Quality Detergent: Use dishwasher-specific detergent (pods, powder, or liquid) designed for your machine. Avoid regular dish soap, which causes excessive suds.
- Measure Correctly: Follow the manufacturer’s guidelines for detergent quantity. Too much can leave residue; too little reduces cleaning power.
- Select Appropriate Cycles: Use heavy-duty cycles for pots and pans, normal cycles for daily dishes, and eco or light cycles for delicate items.
- Use Rinse Aid: Fill the rinse aid dispenser to improve drying and reduce water spots.
Troubleshooting
If dishes remain dirty, try a different detergent brand or adjust the cycle. Persistent issues may indicate a deeper problem, such as a faulty wash motor, which North Vancouver Appliance Repair can diagnose and fix.
Step 7: Check the Heating Element and Drying System
Why Heating Matters
The heating element heats water for cleaning and air for drying. A faulty element can lead to poor cleaning or wet dishes.
How to Inspect
- Check Water Temperature: Dishwashers require water temperatures of 120–140°F for optimal cleaning. Test the hot water supply at your sink.
- Inspect the Heating Element: Look for visible damage (e.g., corrosion or burn marks). Use a multimeter to test for continuity.
- Run a Test Cycle: If dishes aren’t drying, the heating element or thermostat may be faulty.
Solutions
- Adjust Water Heater: Ensure your home’s water heater is set to at least 120°F.
- Replace the Element: Replacing a heating element requires electrical expertise. North Vancouver Appliance Repair can handle this safely and efficiently.
Step 8: Schedule Annual Professional Maintenance
Why Professional Maintenance Helps
Even with diligent DIY care, professional maintenance catches issues early, preventing major repairs. A technician can inspect electrical components, test water pressure, and lubricate moving parts.
What to Expect
- Comprehensive Inspection: Checking all major systems (pump, motor, heating element, etc.).
- Deep Cleaning: Removing buildup in hard-to-reach areas.
- Calibration: Ensuring cycles and sensors function correctly.
Why Choose North Vancouver Appliance Repair
North Vancouver Appliance Repair offers tailored maintenance plans for North Vancouver residents. Our technicians are trained to service all major brands, using genuine parts for reliable repairs. Schedule an annual check-up at northvancouverappliances.ca to keep your dishwasher in peak condition.
Additional Tips for Long-Term Performance
- Scrape, Don’t Rinse: Scrape food off dishes before loading to prevent clogs, but avoid pre-rinsing, as modern dishwashers rely on food particles to activate enzymes in detergent.
- Load Correctly: Place dishes according to the manual to avoid blocking spray arms. Ensure items don’t nest, which prevents water from reaching all surfaces.
- Run Regularly: Use your dishwasher at least once a week to prevent seals from drying out and pumps from seizing.
- Check Water Hardness: Hard water can cause limescale buildup. Use a water softener or descaling agent if needed.
Common Dishwasher Issues and When to Call a Professional
Despite regular maintenance, issues like leaks, strange noises, or error codes may arise. Here’s when to seek help:
- Leaks: Could indicate a faulty pump, hose, or gasket.
- Noises: Grinding or humming may signal a failing motor or pump.
- Error Codes: Refer to your manual, but persistent codes often require professional diagnostics.
- Poor Cleaning: If cleaning and maintenance don’t resolve the issue, components like the wash motor or control board may need repair.
North Vancouver Appliance Repair offers same-day service, expert diagnostics, and affordable repairs for all dishwasher issues.
Conclusion
Maintaining your dishwasher for long-term performance involves regular cleaning, inspecting key components, using the right detergent, and scheduling professional maintenance. By following these steps, you can extend your dishwasher’s lifespan, improve cleaning results, and avoid costly repairs. For North Vancouver residents, North Vancouver Appliance Repair is your trusted partner for expert maintenance and repair services. Whether you need a deep clean, part replacement, or annual tune-up, our team is here to help. Visit northvancouverappliance.ca to book an appointment and keep your dishwasher running like new.
