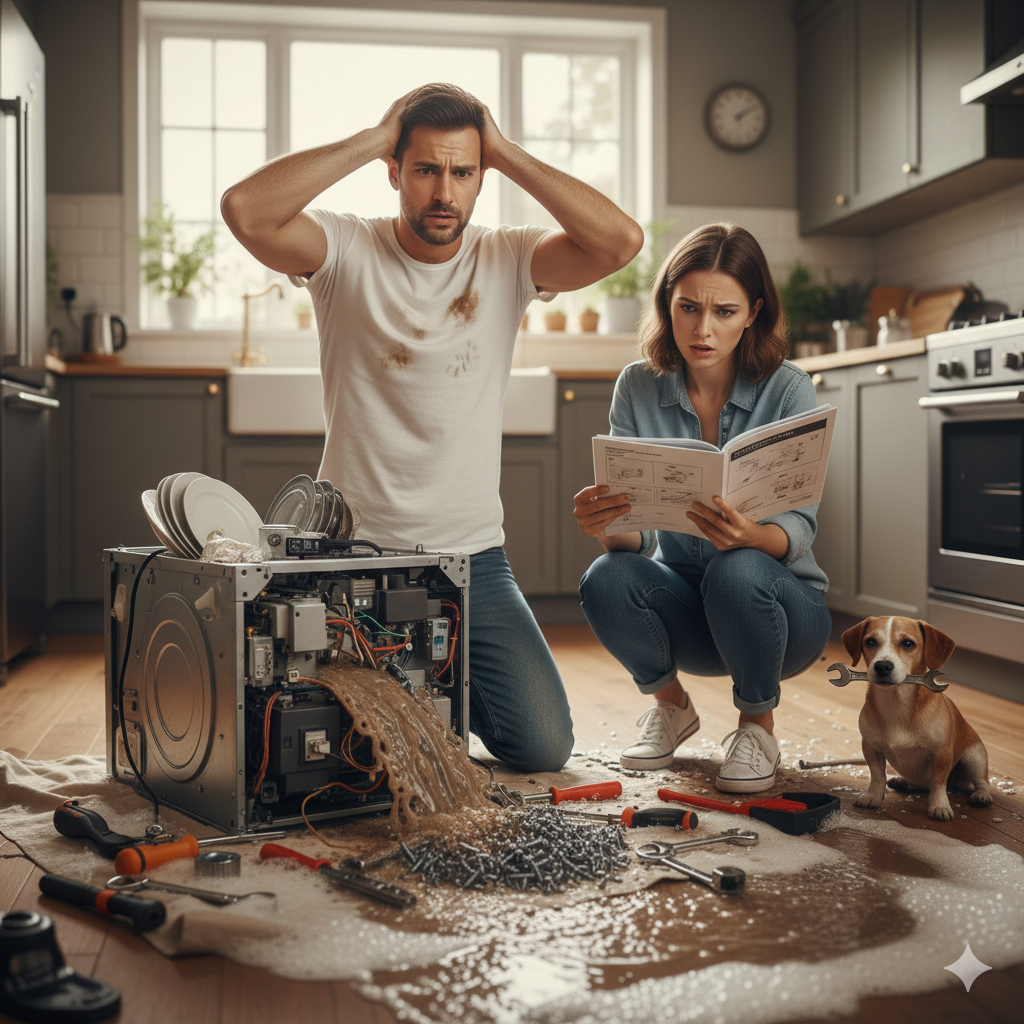
Hey there, folks in North Vancouver and West Vancouver! If you're staring at a dishwasher that's refusing to kick into gear, you're not alone. We've all been there—loading up after a big family dinner, hitting the start button, and… nothing. It's frustrating, especially when you've got a sink full of dirty plates staring back at you. At North Vancouver Appliance Repair, we've been helping homeowners just like you tackle these issues for years. As your local experts serving neighborhoods from Lower Lonsdale to Horseshoe Bay, we know dishwashers inside and out. In this guide, we'll walk you through step-by-step troubleshooting to get your machine running again. And if things get too tricky? Well, that's where our insured technicians come in—more on that later.
Dishwashers are workhorses in modern kitchens, but like any appliance, they can hiccup. A unit that won't start might seem like a death sentence, but often it's something simple you can fix yourself. We'll cover the most common culprits, from basic power problems to more involved component checks. Remember, safety first: always unplug the dishwasher or flip the breaker before diving in. Let's get started.
Understanding Why Your Dishwasher Won't Start
Before we jump into fixes, it's helpful to know what's going on under the hood. Dishwashers rely on a symphony of electrical, mechanical, and plumbing elements to operate. When one part fails, the whole show stops. Based on our experience at North Vancouver Appliance Repair, here are the top reasons we've encountered:
- Power Supply Issues: This is the low-hanging fruit. If there's no electricity reaching the machine, it won't start. Think tripped circuits, faulty outlets, or even a blown fuse in the dishwasher itself.
- Door Latch Problems: Modern dishwashers have safety features that prevent operation if the door isn't securely closed. A misaligned latch or broken switch can trick the system into thinking it's open.
- Control Panel or Child Lock Engaged: Sometimes, it's user error. That child lock you activated to keep little hands out? It might still be on. Or the control panel could be glitchy.
- Water Supply Blockages: No water means no wash. Kinked hoses, closed valves, or low pressure can halt the cycle.
- Faulty Components: Deeper issues like a burned-out motor, defective timer, or thermal fuse might be at play. These are less common but more serious.
- Overloaded or Improperly Loaded Dishes: Believe it or not, how you load your dishwasher matters. Sensors can detect imbalances or blockages.
In our years serving the North Shore, we've seen everything from a forgotten power cord to complex wiring faults. The good news? About 60% of these problems are DIY-friendly, saving you time and money. Let's troubleshoot.
Step-by-Step Troubleshooting: Basic Checks First
Start with the easiest stuff. You'd be surprised how often a quick fix does the trick. We'll go from simple to more advanced, so follow along in order.
Step 1: Verify Power Supply
It sounds obvious, but power problems account for a huge chunk of service calls we get. First, check if the dishwasher is plugged in properly. Over time, vibrations can loosen cords. If it's hardwired, ensure the breaker hasn't tripped—look for the one labeled "kitchen" or "dishwasher" in your panel.
Test the outlet by plugging in another appliance, like a lamp. If that doesn't work, you might have a bad outlet or GFCI (ground fault circuit interrupter) that's tripped. Reset it by pressing the button on the outlet.
If power seems fine but the machine is silent, check for a blown thermal fuse. This safety device protects against overheating and is often located behind the kick panel at the bottom. You'll need a multimeter to test continuity—set it to ohms and touch the probes to the fuse ends. No reading? It's blown and needs replacement. Parts like these are inexpensive, around $20, and we stock OEM versions for brands like Whirlpool or Bosch.
One story from our team: A client in Lynn Valley called us frantic about their Samsung dishwasher. Turns out, a recent power surge had tripped the breaker. A quick reset, and they were back in business—no visit needed!
Related: Why Is My Dishwasher Making Strange Noises?
Step 2: Inspect the Door Latch and Switch
The door must be fully latched for the dishwasher to start—it's a safety feature to prevent floods. Open and close the door firmly a few times. Listen for a click; if it's weak or absent, the latch might be worn.
To check the switch, unplug the machine and remove the inner door panel (usually a few screws). Locate the small switch near the latch—it's often a plastic piece with wires. Use your multimeter again: with the door closed, it should show continuity. If not, the switch is faulty. Replacements are straightforward and cost about $30-50.
Pro tip: Clean around the latch area. Soap scum and food bits can build up, preventing a good seal. A soft brush and vinegar solution works wonders.
Step 3: Disable Controls and Reset the Machine
Many models have a child lock or control lock feature. Check your manual (or search online for your model number) to see how to deactivate it—often holding down a button like "heated dry" for 3-5 seconds.
If that doesn't help, try a reset. Unplug the dishwasher for 5-10 minutes, then plug it back in. This can clear electronic glitches, much like restarting your computer. For smart models from LG or GE, there might be a reset sequence on the panel.
We've had clients in Deep Cove swear their KitchenAid was dead, only for a simple reset to revive it. It's free and takes no tools—always worth a shot.
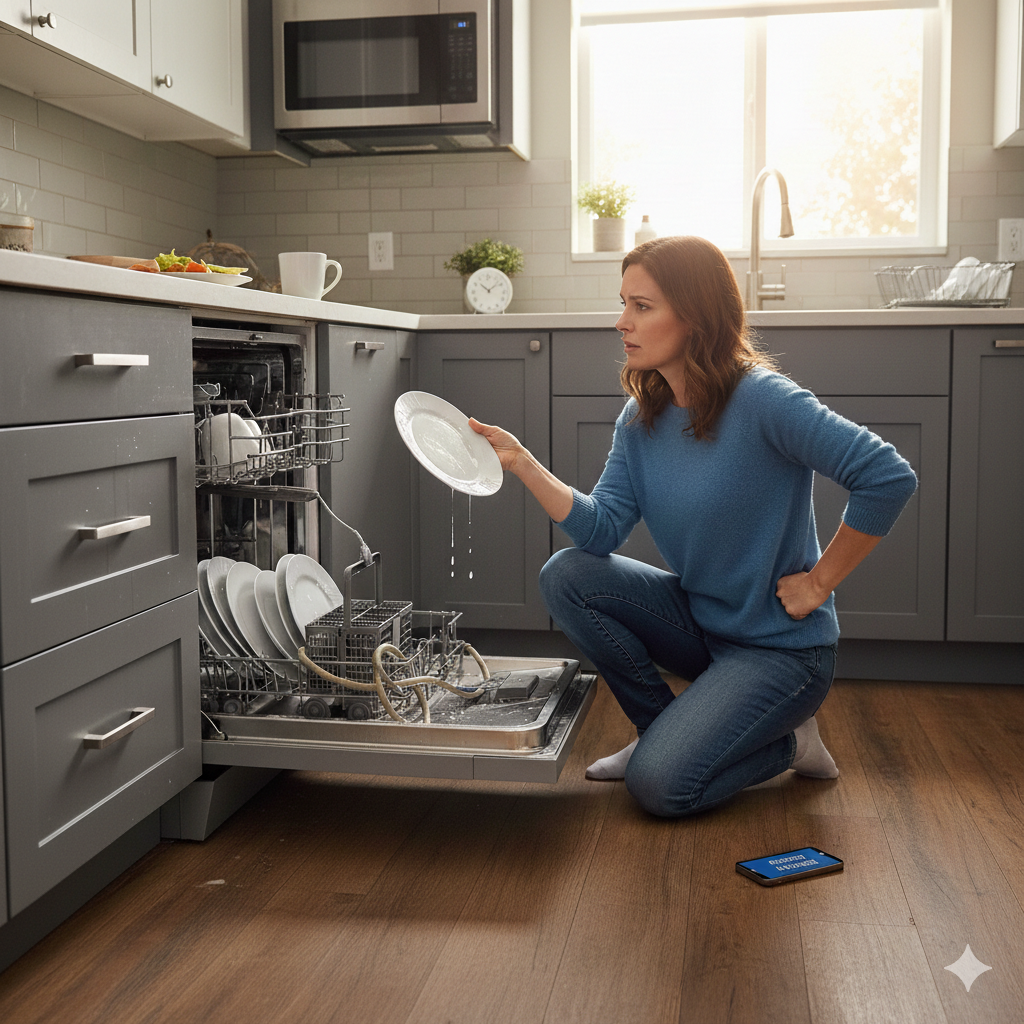
Step 4: Check Water Supply and Drainage
Water issues are sneaky. Ensure the water valve under your sink is fully open—sometimes it gets bumped during cleaning. Inspect the inlet hose for kinks or leaks; straighten if needed.
If water isn't filling, the inlet valve might be clogged with mineral deposits, common in our hard-water areas around North Vancouver. To test, disconnect the hose (have a bucket ready) and run water through it. If flow is weak, clean the screen filter at the valve end with a toothbrush and vinegar.
Drainage problems can also prevent starting if sensors detect standing water. Check the drain hose for clogs—remove it and blow through or use a wire hanger to clear debris. Run a cycle with baking soda and vinegar to dissolve buildup.
In West Vancouver homes with older plumbing, we've seen low water pressure from municipal issues. If that's the case, a booster pump might be needed, but that's a pro job.
Related: How to Maintain Your Dishwasher for Long-Term Performance
Step 5: Examine Internal Components
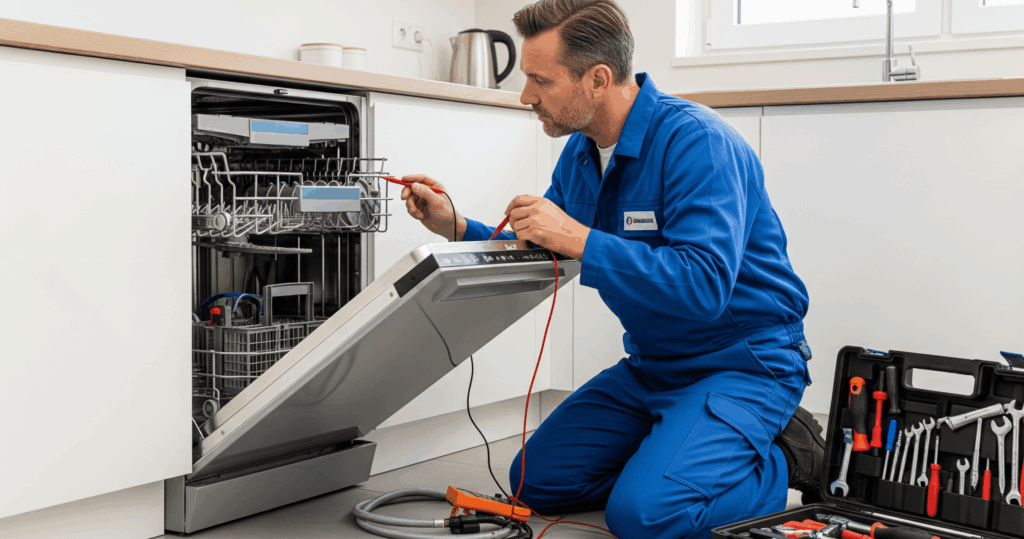
If basics fail, it's time for deeper dives. Warning: If you're not comfortable with tools, this is where you might want to call us at North Vancouver Appliance Repair. Our techs arrive next-day with the right parts.
- Timer or Selector Switch: On older models, the timer controls cycles. If stuck, it won't advance. Test with a multimeter for continuity in the "start" position.
- Motor and Pump: The heart of the dishwasher. If it hums but doesn't run, it could be seized. Access from below (tip the unit if needed) and check for obstructions like broken glass.
- Float Switch: This prevents overfilling. If stuck in the "up" position from debris, it signals the machine to stop. Clean it gently.
Replacing these can run $100-300 in parts, but it's often cheaper than a new unit. For instance, a Maytag motor swap saved a Pemberton Heights family hundreds.
When DIY Isn't Enough: Knowing When to Call the Pros
Look, we love empowering homeowners to fix things themselves—it's why we're writing this guide. But some issues require professional tools and expertise to avoid voiding warranties or causing more damage. If you've tried the steps above and your dishwasher still won't budge, it might be a wiring fault, control board failure, or something brand-specific.
That's where North Vancouver Appliance Repair shines. As your trusted local partner, we offer transparent pricing starting with a $120 diagnostic visit that covers assessment and minor fixes. Our technicians are trained on all major brands, using only OEM parts for lasting repairs. Plus, we back our work with up to a 1-year warranty—twice what some competitors offer. Serving North and West Vancouver exclusively means quick response times, often next-day for emergencies.
One recent call in Ambleside: A Bosch dishwasher with a faulty control board. Our tech diagnosed it in 30 minutes, replaced the part, and had it running like new. The homeowner avoided buying a replacement, saving over $1,000. If you're in Edgemont Village or Gleneagles, give us a ring—we're here 6 days a week from 8 am to 10 pm.
Preventing Future Dishwasher Headaches
An ounce of prevention beats a pound of cure, right? Here's how to keep your dishwasher humming:
- Regular Cleaning: Run an empty cycle with a cup of vinegar monthly to combat buildup. Clean filters weekly.
- Proper Loading: Don't overload; ensure spray arms spin freely.
- Maintenance Checks: Inspect hoses annually for wear. In our coastal climate, corrosion can sneak up.
- Use Quality Detergent: Cheap stuff can clog lines. Opt for pods or powders designed for your model.
- Professional Tune-Ups: Schedule a check-up every 2-3 years. We offer affordable maintenance packages to catch issues early.
By following these, you'll extend your appliance's life—most last 10-15 years with care.
Wrapping It Up: Get Back to Clean Dishes
There you have it—a thorough roadmap to fixing a dishwasher that won't start. From power tweaks to component swaps, we've covered the bases based on real-world fixes we've done across the North Shore. Remember, if the problem persists or you're unsure, don't hesitate to reach out to us at North Vancouver Appliance Repair. We're more than a service company; we're your neighbors committed to keeping your home running smoothly.
Got questions? Drop us a message via our site or call today. Let's get that dishwasher whirring again—because life's too short for hand-washing!