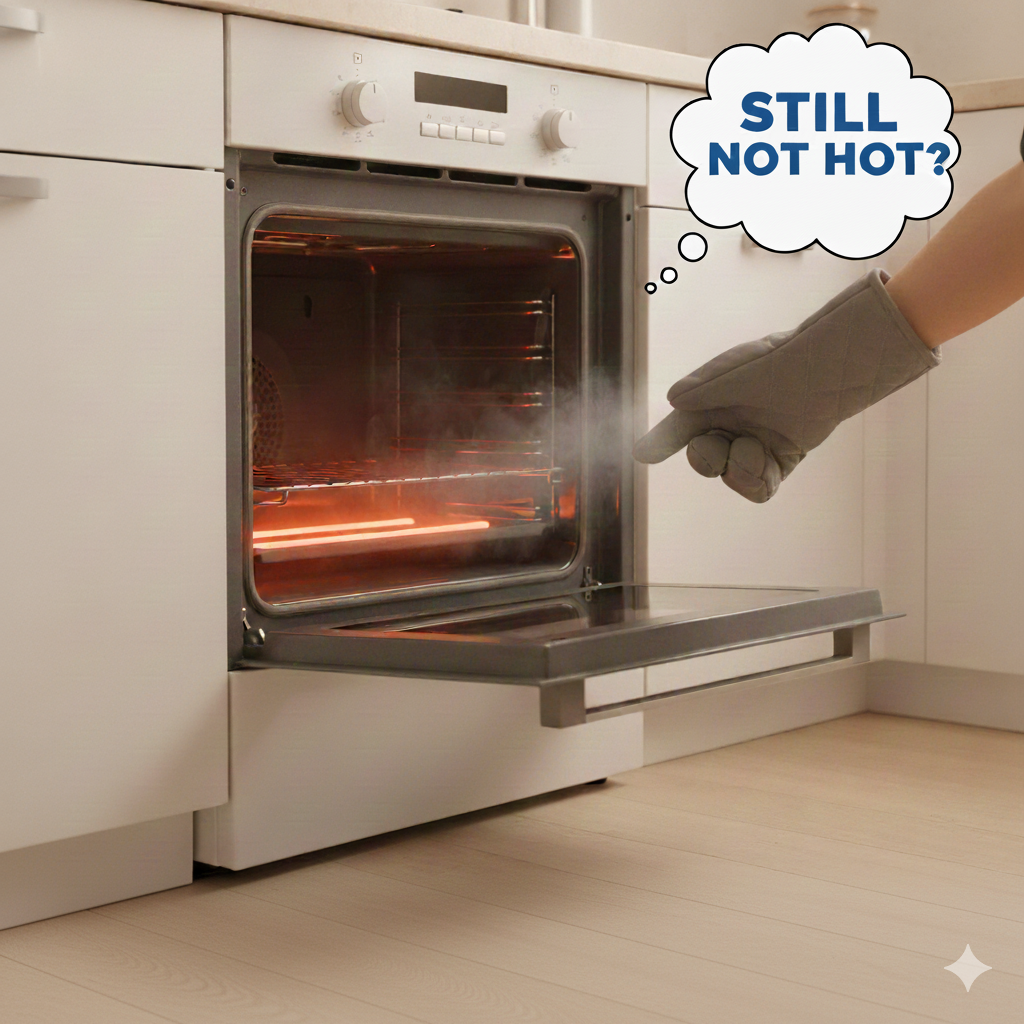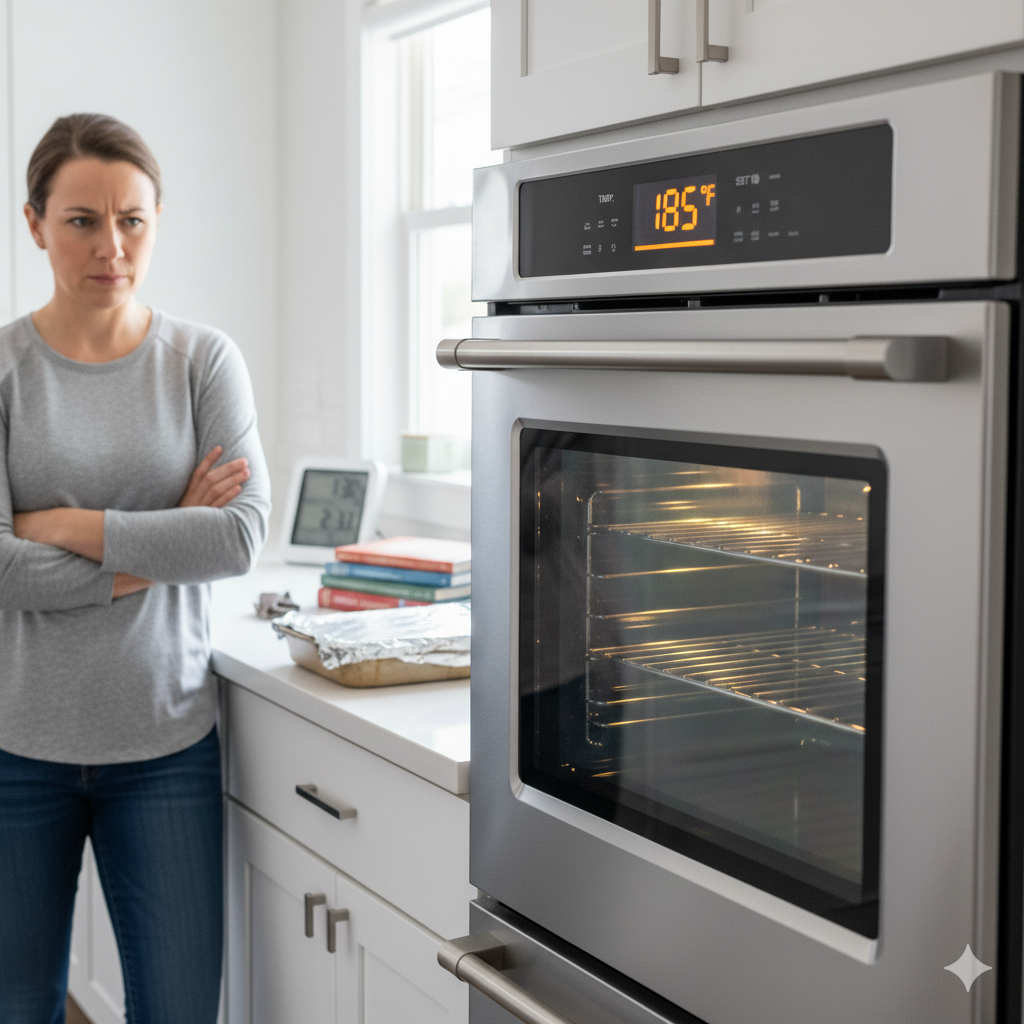
Hey there, folks. If you’ve ever found yourself pacing in your North Vancouver kitchen, staring at the oven while it crawls to the right temperature, you’re not alone. We get it—nothing throws a wrench in your dinner plans like an oven that takes forever to preheat. At North Vancouver Appliance Repair, we’ve fixed countless ovens for families across North and West Vancouver, from cozy condos in Lower Lonsdale to spacious homes in Deep Cove. Whether it’s a weeknight meal or a holiday feast, a slow-preheating oven can test your patience. In this detailed guide, we’ll walk you through why your oven might be lagging, offer practical DIY steps to fix it, and share when it’s time to call in the pros. And if things get tricky, our team at North Vancouver Appliance Repair is just a call away for expert, reliable service.
Let’s dive into why your oven is dragging its feet and how you can get it back to peak performance. Ovens are complex appliances, and a slow preheat doesn’t always mean a major breakdown. Sometimes it’s a quick fix you can handle at home; other times, it’s a sign of wear and tear that needs professional attention. We’ll cover both scenarios so you can make an informed decision.
Common Reasons Your Oven Takes Forever to Preheat
At North Vancouver Appliance Repair, we’ve serviced appliances across North Vancouver neighborhoods like Lynn Valley, Edgemont, and Pemberton Heights, and we’ve seen it all. Here are the most common culprits behind a slow-preheating oven, based on our years of experience.
1. Faulty Thermostat or Temperature Sensor
The thermostat or temperature sensor is like the oven’s internal thermometer, telling it when it’s reached the set temperature. If it’s faulty, the oven might think it’s not hot enough, causing it to keep heating longer than necessary. We’ve seen this issue frequently in older models, where sensors get coated with grease or simply wear out after years of use. For example, a client in Capilano once called us because her oven took 45 minutes to hit 350°F. A quick sensor replacement, and she was back to roasting her Thanksgiving turkey on time.
2. Malfunctioning Heating Elements or Igniters
In electric ovens, the bake or broil elements are responsible for generating heat. If they’re partially burned out, they can’t deliver full power, leading to sluggish preheating. You might notice uneven cooking too—think cookies that are raw on one side and crispy on the other. For gas ovens, the igniter or gas valve could be the issue. If the igniter doesn’t glow bright orange or the flame sputters, it’s not igniting the gas properly. We’ve repaired igniters in brands like Frigidaire and Whirlpool, and it’s a game-changer for preheat speed.
3. Worn-Out Door Seals or Gaskets
The rubber or silicone seal around your oven door keeps heat locked inside. If it’s cracked, torn, or loose, heat escapes like air from a leaky tire, forcing the oven to work overtime to maintain temperature. This is a sneaky issue we often spot during service calls in North Vancouver homes, especially in kitchens where ovens get heavy use. Pet claws, kids hanging on the door, or just years of heat exposure can degrade these seals.
4. Poor Ventilation
Ovens rely on proper airflow to distribute heat evenly. If vents are blocked by foil, crumbs, or even improper installation, heat can’t circulate, slowing down the preheat process. In smaller North Vancouver apartments, poor kitchen ventilation—like a weak exhaust fan—can make this worse. We’ve seen ovens tucked into tight cabinets where airflow is restricted, causing all sorts of heating issues.
5. Electrical or Gas Supply Issues
For electric ovens, a weak circuit, faulty wiring, or a tripped breaker can reduce power delivery, making the oven sluggish. In older North Vancouver homes, especially pre-1980s builds, wiring might not handle modern ovens’ demands. Gas ovens, meanwhile, can suffer from low gas pressure or a clogged burner, which limits flame output. We’ve upgraded circuits and cleared gas lines for clients to resolve these exact problems.
6. Control Board Glitches
Modern ovens rely on an electronic control board—the brain of the operation. If it’s malfunctioning, it might misread signals from the sensor or elements, delaying preheat. Power surges, common after storms in our rainy North Vancouver climate, can fry these boards. We’ve diagnosed boards in high-end models like Wolf and Bosch that seemed fine but were quietly causing havoc.
These are the top issues we encounter on service calls. Diagnosing the problem is the first step, but always prioritize safety—unplug the oven or shut off the gas before attempting any repairs.
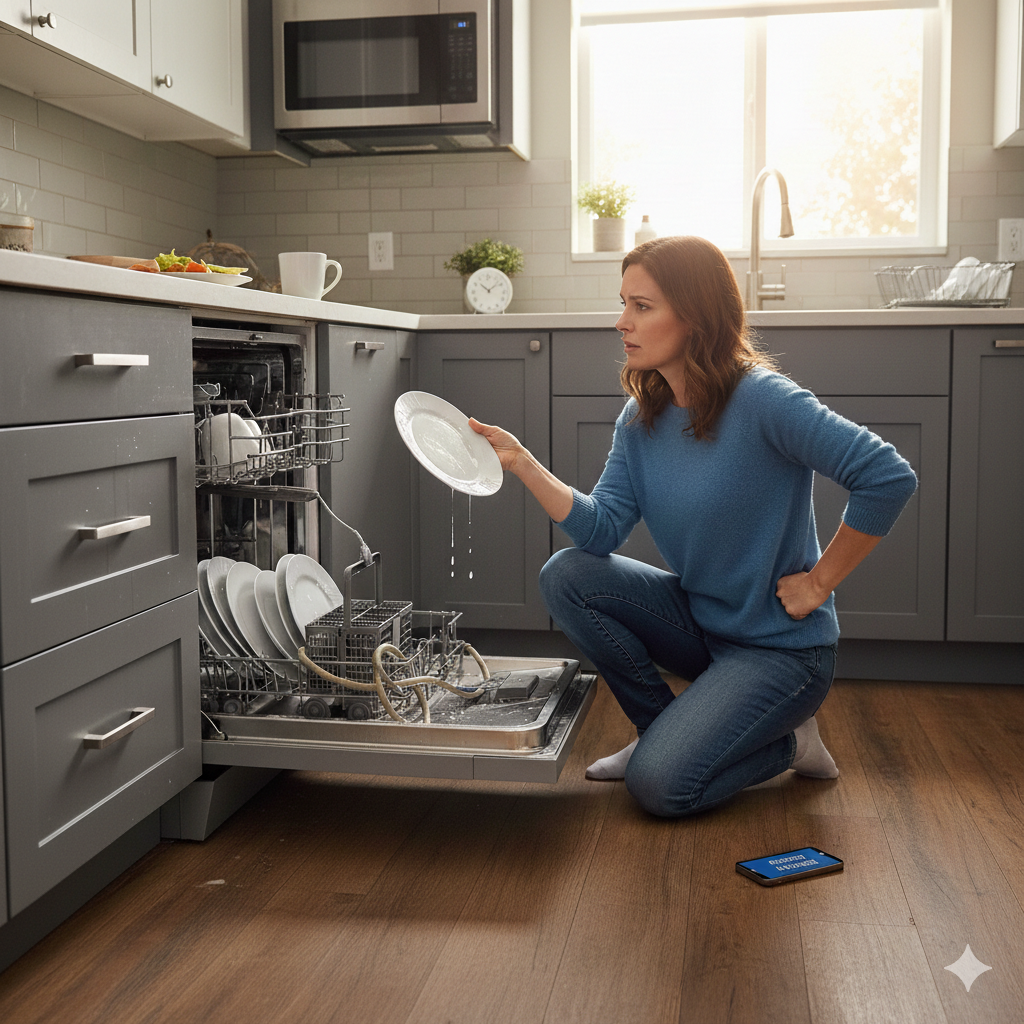
Related: How to Fix a Dishwasher That Won’t Start
Step-by-Step DIY Troubleshooting and Fixes
Ready to tackle the problem yourself? We’ll walk you through practical steps to diagnose and fix a slow-preheating oven. You’ll need basic tools like a Phillips screwdriver, a multimeter (about $20 at hardware stores), an oven thermometer, and maybe some needle-nose pliers. If you’re not comfortable with these, don’t worry—our team at North Vancouver Appliance Repair can handle it quickly and safely. Here’s how to get started.
Step 1: Rule Out the Basics
Before diving into components, check the simple stuff. Is your oven level? An unlevel oven can cause uneven heating, slowing preheat. Place a bubble level on the racks and adjust the oven’s feet if needed. Also, ensure the clock and timer are set correctly—some models, especially older ones, won’t preheat if the clock is off.
Next, give your oven a thorough cleaning. Grease and food residue can insulate sensors or elements, reducing efficiency. Unplug the oven, remove the racks, and mix a paste of ½ cup baking soda and water. Spread it on interior surfaces, let it sit overnight, and wipe it clean with a damp cloth. For stubborn spots, spray white vinegar to loosen grime. We’ve had clients in West Vancouver swear by this trick—it’s amazing how a clean oven can shave minutes off preheat time.
Step 2: Inspect the Door Seal
A worn-out door seal is a common fixable issue. To test it, grab a dollar bill or a piece of paper, close the oven door on it, and try to pull it out. If it slides easily without resistance, the seal is failing. Replacement gaskets are affordable ($20-50) and easy to install. Check your oven’s model number (usually on a sticker inside the door or on the back) and order the right part online or from a local supplier. Remove the old gasket by pulling it out of its groove, clean the area with soapy water, and snap the new one in. Silicone gaskets are more durable than rubber, so opt for those if available. We stock common seals at our North Vancouver shop, so feel free to reach out for advice or parts.
Step 3: Test the Temperature Sensor
The temperature sensor is a thin metal probe inside the oven cavity, usually near the back wall. To test it, unplug the oven, remove the sensor (typically held by two screws), and use a multimeter set to ohms. At room temperature (around 70°F), it should read 1,000-1,100 ohms for most models. If it reads 0, infinity, or significantly off, it’s faulty. Replacement sensors cost $20-50 and are straightforward to install—just be gentle with the wires to avoid damage. We’ve swapped hundreds of these, and it’s one of the most satisfying fixes because the results are immediate.
Step 4: Examine Heating Elements or Igniters
For electric ovens, visually inspect the bake and broil elements for blisters, breaks, or dark spots. These are signs they’re burned out. To confirm, unplug the oven, remove the element (unscrew the brackets and disconnect wires), and test for continuity with your multimeter. Infinite resistance means it’s dead. New elements cost $30-100, depending on the brand, and installation is simple—wear gloves to avoid getting oils on the new element, which can cause premature failure.
For gas ovens, check the igniter. It should glow bright orange during preheat. If it’s dim, flickering, or doesn’t light at all, it’s likely faulty. To replace, turn off the gas valve, remove the oven’s bottom panel, unscrew the igniter, and disconnect its wires. Install the new one carefully, ensuring secure connections. Igniters run $50-100 but can restore preheat times instantly. Safety is key—never work on gas components if you smell gas or feel unsure.
Step 5: Verify Power or Gas Supply
For electric ovens, use a voltage meter to check your outlet. Most ovens require 240 volts; anything less, and preheat will drag. If you suspect a weak circuit, check your breaker box for tripped breakers or signs of wear. In older North Vancouver homes, especially those built before the 1980s, wiring upgrades are sometimes needed. We’ve helped clients in Blueridge and Upper Lonsdale with this exact issue.
For gas ovens, ensure the gas line is clear and pressure is adequate. A manometer can measure this, but it’s best left to pros due to safety risks. If you hear irregular clicking or weak flames, it could be a clogged burner or low pressure—call us to diagnose.
Step 6: Calibrate the Thermostat (If Applicable)
Older ovens allow manual thermostat calibration. Preheat to 350°F, then place an oven thermometer inside to check the actual temperature. If it’s off by more than 25°F, consult your manual for calibration steps—usually adjusting a knob or entering a service mode on digital models. For smart ovens, try a factory reset (check the manual for instructions). Calibrate in small increments (5°F) and test multiple times for accuracy.
If these steps don’t resolve the issue, you might be dealing with a control board or relay problem, which are complex and best handled by professionals. At North Vancouver Appliance Repair, our certified technicians use advanced diagnostic tools to pinpoint issues without guesswork, saving you time and money.
Related: The Top 5 Reasons Your Oven Is Cooking Unevenly
Advanced Issues and When to Call the Pros
Not every oven problem is DIY-friendly. If you’ve tried the steps above and your oven still takes too long to preheat, deeper issues might be at play. Here are a few we commonly see:
- Control Board Failures: A glitchy control board can mimic other issues, sending incorrect signals to elements or sensors. Power surges, frequent in North Vancouver’s stormy weather, can damage these boards. We’ve repaired boards in high-end models like Miele and Thermador, but they require specialized testing.
- Gas Line Problems: Low gas pressure, leaks, or clogged lines aren’t just inefficient—they’re dangerous. If you suspect gas issues, stop troubleshooting and call a professional immediately.
- Electrical Faults: Faulty wiring or breakers can pose fire risks. We’ve seen this in older homes where circuits weren’t designed for modern appliances’ power demands.
Attempting complex repairs yourself can void warranties or cause bigger problems. For example, a client in Blueridge tried fixing his control board himself and ended up needing a full replacement—costing more than if he’d called us first. At North Vancouver Appliance Repair, we offer same-day service across North and West Vancouver, with transparent pricing and warranties on parts and labor. Our technicians arrive equipped to handle all major brands, from Whirlpool to LG, and we often fix issues in a single visit. If your oven is under warranty, we can coordinate with manufacturers to ensure coverage.
Why choose us? We know North Vancouver homes inside out, from the tight kitchens of Central Lonsdale to the sprawling layouts of Canyon Heights. Our team is trained to diagnose and repair quickly, minimizing disruption. Visit https://northvancouverappliances.ca or call us for a free quote—we’re here seven days a week because appliance issues don’t wait for business hours.
Tips to Prevent Slow Preheat in the Future
An ounce of prevention is worth a pound of cure, as they say. Here are practical tips we share with our clients to keep ovens running smoothly and prevent slow preheating down the line:
- Regular Cleaning: Run self-clean cycles sparingly, as they can wear out elements faster. Instead, wipe down spills after each use with a damp cloth. Every three months, do a deep clean with the baking soda method mentioned earlier.
- Annual Maintenance: Like a car tune-up, have a professional inspect your oven yearly. We offer affordable maintenance plans that catch issues before they escalate, saving you costly repairs.
- Proper Usage: Avoid slamming the oven door, which can damage seals. Use the correct rack positions for even heating—check your manual for recommendations.
- Energy Efficiency: If your oven is over 15 years old, consider upgrading to an Energy Star model. Newer ovens preheat 20% faster and use less energy, which is great for North Vancouver’s eco-conscious households. We partner with local retailers to offer discounts on installations.
- Monitor Usage: Heavy baking or broiling wears elements faster. If you notice preheat times creeping up, act early to check components.
By adopting these habits, you’ll extend your oven’s lifespan and keep it preheating like a champ.
Wrapping It Up: Get Your Oven Back in Action
There you have it—a comprehensive guide to diagnosing and fixing an oven that takes too long to preheat. From simple cleaning and seal replacements to testing sensors and elements, many issues are within reach for the handy homeowner. But when in doubt, safety comes first, and not every problem is a quick fix.
At North Vancouver Appliance Repair, we’re passionate about keeping your kitchen running smoothly. If this guide points to something beyond your comfort zone—or if you just want it done right the first time—reach out to us. Our certified technicians offer fast, reliable service across North and West Vancouver, with 24/7 availability and no-obligation quotes. Visit https://northvancouverappliances.ca or give us a call to schedule a visit. We’re proud to be your local go-to for high-quality appliance repairs, serving neighborhoods from Deep Cove to Dundarave.
Thanks for reading, and here’s to getting your oven preheating like new. Happy cooking!