How to Fix Your Garburator When It Stops Working
When your garburator stops working — whether it’s completely dead, humming without grinding, or leaking — it tends to bring kitchen cleanup to a grinding halt (no pun intended). The good news is that most garburator problems are among the easiest appliance fixes a homeowner can do. Many require no tools at all and take […]
When your garburator stops working — whether it’s completely dead, humming without grinding, or leaking — it tends to bring kitchen cleanup to a grinding halt (no pun intended). The good news is that most garburator problems are among the easiest appliance fixes a homeowner can do. Many require no tools at all and take less than five minutes.
This guide covers every common garburator failure, what causes it, and exactly what to do — starting with the simplest checks that resolve the majority of problems before getting into the mechanical issues that occasionally need professional attention.
Understanding How a Garburator Works
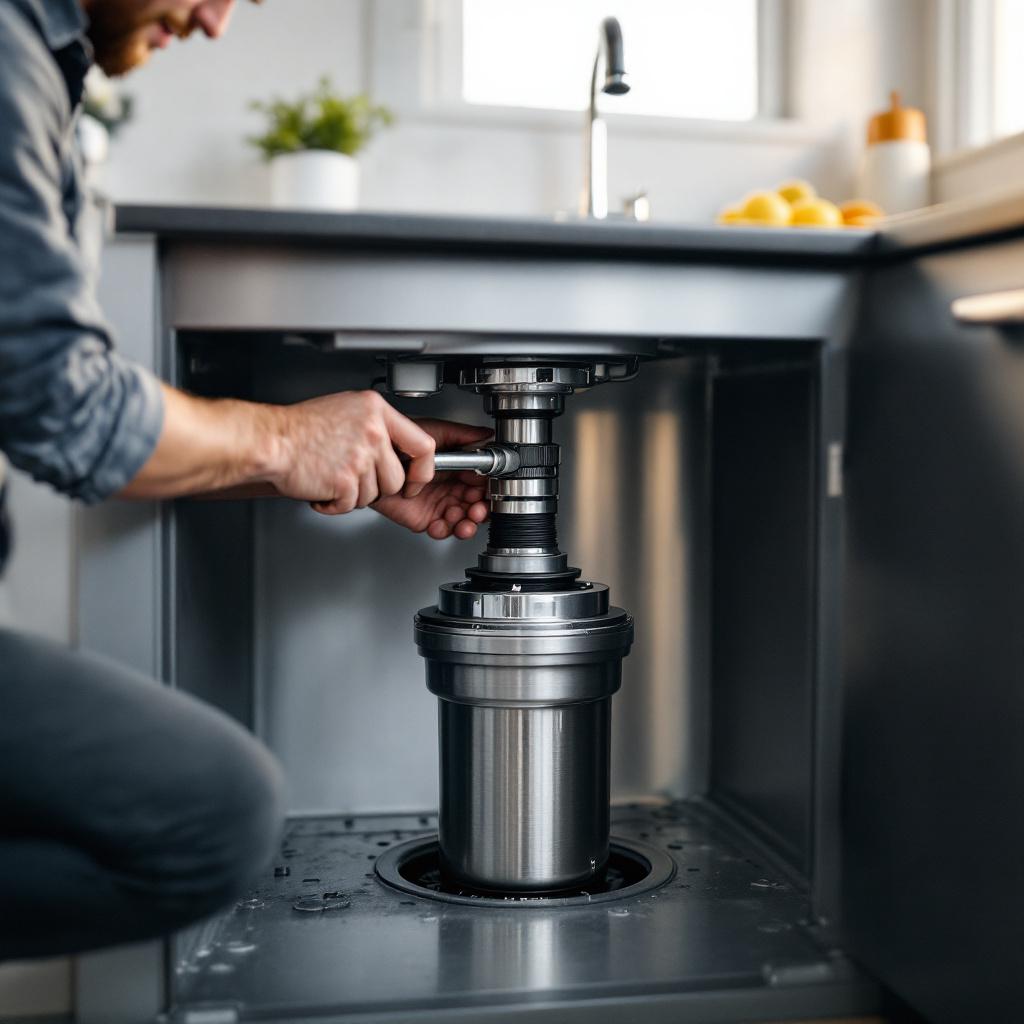
A garburator (also called a garbage disposal) is a motorised unit mounted beneath the kitchen sink, between the drain and the drain pipe. An electric motor spins a grinding plate (the impeller) at high speed. Food waste dropped into the unit is flung outward against a stationary grinding ring, breaking it down into fine particles that can pass through the drain pipe.
Garburators don’t have blades in the traditional sense — they use centrifugal force and the grinding ring to process food, which is why they’re harder to damage than most people fear. The most common failures are jams, tripped thermal protectors, and drain blockages rather than mechanical breakdowns.
1. The Unit Is Completely Dead — Check the Reset Button First
If your garburator makes absolutely no sound when you flip the switch, the most likely cause is a tripped thermal overload protector. This is a safety device built into every garburator that shuts the motor off automatically when it overheats — usually from running too long, processing too much material at once, or jamming.
How to reset it:
- Make sure the garburator switch is in the OFF position.
- Look underneath the unit for a small button — usually red or black — on the bottom centre of the housing. This is the reset button.
- Press it firmly until you feel it click. If the button was tripped, it will have been popped out slightly and will click back in when reset.
- Turn the cold water on, then flip the garburator switch. It should start normally.
If the reset button trips again within the same session, there’s a jam preventing the motor from spinning freely. Move to Step 2 before resetting again — running a jammed motor repeatedly can burn it out.
2. The Unit Hums But Doesn’t Grind — It’s Jammed
A humming sound with no grinding means the motor is receiving power and trying to run, but something is preventing the impeller from spinning. This is a jam, and it’s one of the most common garburator problems.
How to clear a jam:
- Never reach into the garburator with your hand — even with the power off at the switch, treat it as potentially live. Use the OFF switch and ideally also unplug the unit or turn off its dedicated circuit breaker before reaching inside.
- Look into the drain opening with a flashlight and try to identify the obstruction — a bone, a piece of cutlery, a bottle cap, or a buildup of compacted food are common culprits.
- Use long-handled tongs or pliers to remove any visible foreign object.
- Every garburator comes with an Allen key (hex wrench), and there is a hex socket on the bottom centre of the unit. Insert the Allen key and work it back and forth to manually rotate the impeller and free the jam. If you’ve lost the key, a standard ¼-inch Allen key works on most units.
- Once the impeller moves freely, press the reset button, turn on the cold water, and try the unit again.
3. The Unit Works But Drains Slowly
Slow draining from a garburator is almost always a drain line blockage — not a problem with the unit itself. The garburator grinds food effectively, but the ground material then has to travel through the drain pipe, which can accumulate grease and debris over time.
- Run cold water for 30–60 seconds after every use to flush ground material fully through the pipe.
- Pour a mixture of baking soda and white vinegar down the drain, let it fizz for 10 minutes, then flush with hot water — this breaks up grease buildup in the drain line.
- Avoid putting starchy or fibrous foods through the garburator (potato peels, celery, pasta, rice) — these are the most common causes of drain line blockages.
If the slow drain is accompanied by gurgling from your dishwasher or sink, the blockage may be further down the shared drain line. Our troubleshooting guide on dishwasher not draining explains how the garburator and dishwasher drain systems connect and how to diagnose blockages that affect both.
4. The Unit Leaks
Garburator leaks can come from several places, and identifying the source tells you exactly how to fix it.
Leak from the sink flange (top of the unit):
The sink flange is the mounting ring where the garburator connects to the sink drain hole. The putty or gasket sealing it can dry out and crack over years of use, allowing water to leak down around the unit’s mounting.
- This repair requires uninstalling the unit, scraping out the old plumber’s putty, applying fresh putty, and remounting.
- It’s a moderate DIY job that takes about 45 minutes with the right guidance.
Leak from the side (dishwasher connection):
Many garburators have a dishwasher drain connection on the side. If the clamp on this connection loosens or the hose cracks, water leaks from the joint.
- Tighten the hose clamp with a screwdriver — this fixes most side leaks.
- If the hose itself is cracked, replace it with a matching diameter dishwasher drain hose.
Leak from the bottom of the unit:
A leak from the very bottom of the garburator housing typically means an internal seal has failed. This seal is not generally serviceable — a leak from the base almost always means the unit needs replacement.
5. The Unit Makes Excessive Noise
Some noise is normal — garburators are inherently loud. But a rattling, clanking, or metallic grinding sound that wasn’t there before usually means a hard object (a small bone, a piece of broken ceramic, a coin) has gotten past the drain strainer and is bouncing around inside.
- Turn the unit off immediately and allow it to stop completely.
- Unplug or switch off the circuit breaker.
- Use long tongs or a flashlight to look inside and retrieve the object.
- Use the Allen key to rotate the impeller manually to make sure nothing is still caught beneath it before restarting.
What Not to Put in a Garburator
Most garburator problems are caused by inappropriate materials. The following should never go in:
- Bones from large cuts of meat (small fish or chicken bones are usually fine)
- Fibrous vegetables: celery, artichoke, asparagus, corn husks
- Starchy foods: potato peels, pasta, rice (these expand and clump)
- Coffee grounds in large quantities (accumulate in the trap)
- Grease, cooking oil, or fat
- Fruit pits and avocado pits
- Non-food items: bottle caps, cutlery, produce stickers
Treating the garburator well is part of the broader habit of caring for all your kitchen appliances properly. The same approach that extends the life of a garburator also applies to dishwashers and other sink-adjacent appliances — a principle covered in our guide on the importance of regular appliance maintenance.
When to Call a Professional
Most garburator problems are very fixable at home — a jammed impeller, a tripped reset button, and a slow drain resolve themselves with the steps above. When you should call a professional:
- The unit repeatedly trips the reset button even after clearing an obvious jam
- The motor hums but the Allen key method doesn’t free the impeller
- There’s a leak from the base of the unit (indicates internal seal failure)
- The unit trips the household circuit breaker
Before attempting any internal repair beyond the Allen key method, review our article on the top 5 mistakes to avoid during DIY appliance repairs — especially the guidance on working safely with appliances connected to water and electricity simultaneously.
North Vancouver Appliances handles garburator repairs and replacements across the North Shore. Visit our garburator repair service page to book a visit or get advice.