Why Your Dryer Won’t Start: Common Causes and Easy Fixes
Few appliance problems are as immediately disruptive as a dryer that refuses to start. You load your wet laundry, press the button, and — nothing. No hum, no drum spin, no heat. Before you assume the worst and start shopping for a replacement, take a breath. Most dryer starting failures have straightforward causes that you […]
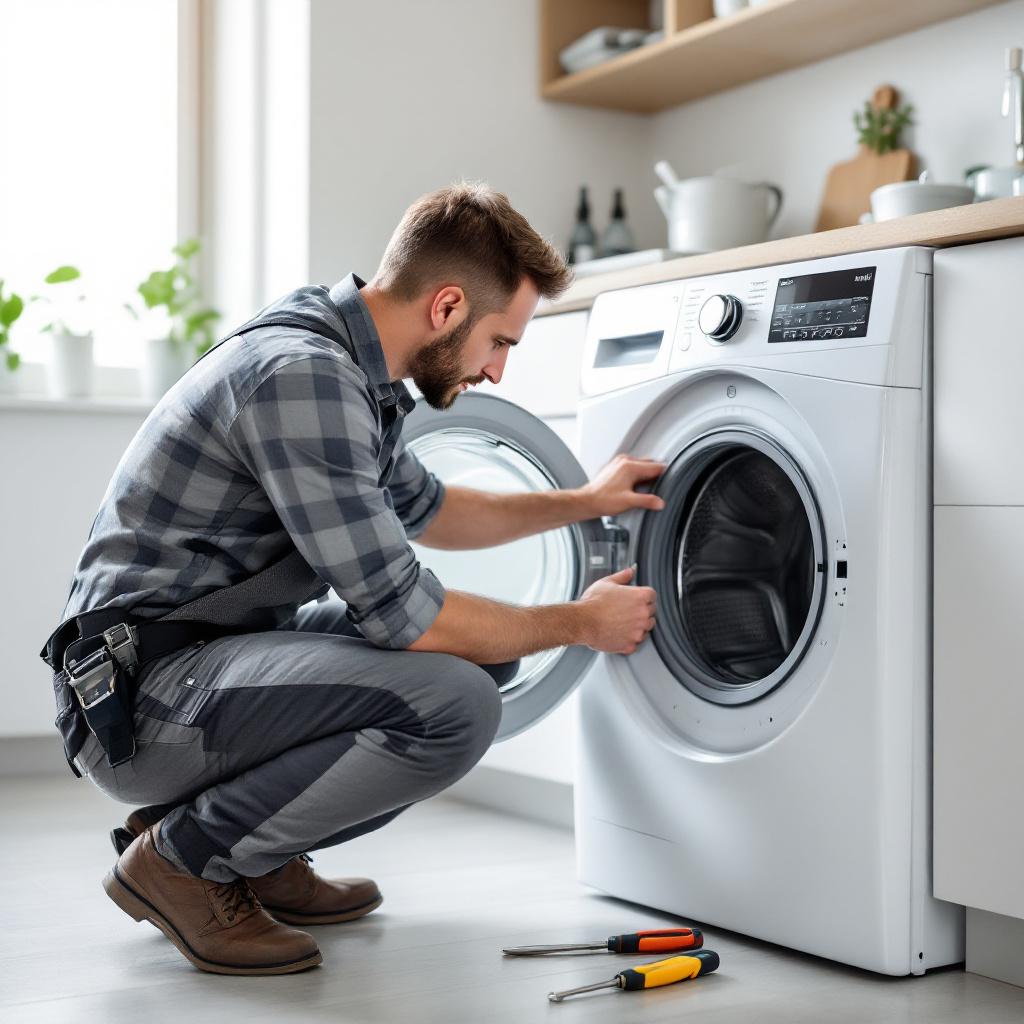
Few appliance problems are as immediately disruptive as a dryer that refuses to start. You load your wet laundry, press the button, and — nothing. No hum, no drum spin, no heat. Before you assume the worst and start shopping for a replacement, take a breath. Most dryer starting failures have straightforward causes that you can diagnose step by step.
This guide covers the most common reasons a dryer won’t start and what you can safely check at home. If your dryer has been running hot before going completely silent, our article on how to troubleshoot a dryer that’s overheating is a great companion read — overheating is often a precursor to a no-start condition.
1. Start With the Power Supply
Before dismantling anything, verify power. Electric dryers require a dedicated 240-volt outlet — different from the 120-volt outlets used by most household appliances. If your dryer receives only partial voltage, it may light up or beep but refuse to spin or heat.
- Locate the dryer’s double-pole circuit breaker in your electrical panel. If it has tripped to the middle position, flip it fully off, then back on.
- Make sure the power cord is firmly seated in the outlet — a partially inserted plug can cause intermittent failures.
- Never use an extension cord with a dryer. The appliance must be plugged directly into a dedicated outlet.
- For gas dryers, also confirm the gas shut-off valve behind the unit is parallel (open) to the gas line.
A partial-power situation — where only one leg of the 240V circuit is live — is surprisingly common after a storm or utility surge. The drum light may still work, which tricks homeowners into thinking power isn’t the issue.
2. Inspect the Door Latch and Switch
Every dryer has a safety interlock that prevents the drum from spinning when the door is open. If the door latch or the door switch behind it is broken, the control board “sees” an open door even when it’s shut — and refuses to run.
- Close the door firmly and listen for a solid click. A weak or absent click suggests a worn latch.
- Visually inspect the latch strike (the plastic or metal tab that catches) for cracks or deformation.
- Try pressing lightly on the door while pressing Start. If the dryer runs intermittently when you apply pressure, the door switch is the culprit.
- Door switches can be tested with a multimeter for continuity — no continuity means replace the switch.
Door switches are inexpensive (usually $10–$25) and are a straightforward DIY repair on most models. Always unplug the dryer before reaching inside — a safety rule detailed in our post on the top 5 mistakes to avoid during DIY appliance repairs.
3. Check the Thermal Fuse
The thermal fuse is a one-time safety device mounted on the exhaust duct inside the dryer. When the dryer overheats, the fuse blows — cutting power to the motor to prevent a fire. Unlike a circuit breaker, a blown thermal fuse does not reset. It must be replaced.
Signs of a blown thermal fuse:
- Dryer is completely unresponsive — no lights, no sounds, no reaction to any button
- Dryer turns on and runs but produces no heat (on some models the fuse only interrupts heat, not motor power)
- History of recent overheating, long dry times, or burning smells
How to check it:
- Unplug the dryer and remove the back panel to locate the fuse on the exhaust duct.
- Test with a multimeter: if there’s no continuity, the fuse is blown.
- Replacement fuses cost $5–$15, but don’t just swap the fuse — find out why it blew. A clogged exhaust vent is the most common cause, and a new fuse will blow again within days if the vent is still blocked.
4. Test the Start Switch
The start button or knob experiences thousands of presses over a dryer’s lifetime and can eventually wear out. When the start switch fails internally, nothing happens when you press it — even if the rest of the panel seems fine.
- Listen for a faint click when pressing Start. A click with no drum response suggests the switch is sending a signal but something downstream has failed.
- Complete silence when pressing Start — with the rest of the display lit — often points directly at the switch.
- Testing the start switch requires accessing the control panel and using a multimeter to check for continuity across the switch terminals when pressed.
5. Inspect the Drive Belt
The drive belt wraps around the drum and motor pulley to spin the drum. If the belt snaps, the motor may still run — but the drum won’t move. Many dryers are designed to stop entirely when a belt breaks, using a belt switch that cuts power when it detects slack.
- Open the dryer door and try spinning the drum by hand. If it spins freely with almost zero resistance, the belt is almost certainly broken.
- A humming motor sound when you press Start — with no drum rotation — also suggests a broken belt.
- Replacing a drive belt is an intermediate DIY repair that requires removing either the front or rear panel. Parts typically cost $15–$40 depending on the brand.
6. Control Board or Timer Failure
Modern dryers use an electronic control board to manage every aspect of the cycle. If the board fails, the dryer may show no response at all, display error codes, or behave erratically. In older dryers, a mechanical timer performs the same function and is also prone to failure.
- A completely blank display after confirming power is fine — suspect the control board.
- Error codes displayed on the panel are the dryer’s way of telling you which component has failed. Search your model number plus the error code for specific guidance.
- Some control board failures are caused by power surges — a surge protector between the outlet and your dryer can prevent this in future.
Control board replacements can be expensive, and for older dryers the cost may approach the value of the machine. This is a good moment to review why regular appliance maintenance matters — catching smaller issues early often prevents the kind of cumulative damage that leads to control board failure.
When to Call a Professional
If you’ve verified power, checked the door latch, inspected the thermal fuse, and still can’t get the dryer running, it’s time to bring in a technician. North Vancouver Appliances can diagnose most dryer problems on the first visit, often completing the repair the same day. We work on all major brands and carry common parts on our service vehicles so you’re not waiting around for weeks.
Book a dryer repair visit at our dryer repair service page — or give us a call if you’d prefer to describe the problem first.
Keeping Your Dryer Running Long-Term
- Clean the lint trap after every single load — not just occasionally.
- Have the exhaust vent professionally cleaned once a year, especially if the duct runs a long distance or has bends.
- Don’t overload the dryer. A drum packed too tightly strains the motor and belt and produces uneven, inefficient drying.
- Listen for changes — a new squeak, rattle, or grinding sound is always easier (and cheaper) to fix early.
- Check the vent hose at the back of the unit seasonally for kinks, disconnections, or crushing from the dryer being pushed too close to the wall.
With proper care, a quality dryer should last 10–15 years. Most premature failures are preventable with a few simple habits.