How to Replace a Washing Machine Door Seal
A damaged or leaking washing machine door seal — the rubber gasket that runs around the inside of a front-loading washer’s door opening — is one of the most common front-loader issues homeowners face. When the boot seal cracks, tears, or develops mould damage that penetrates the rubber, it causes water to leak from the […]
A damaged or leaking washing machine door seal — the rubber gasket that runs around the inside of a front-loading washer’s door opening — is one of the most common front-loader issues homeowners face. When the boot seal cracks, tears, or develops mould damage that penetrates the rubber, it causes water to leak from the door during cycles, creates persistent odours that cleaning can’t fully eliminate, and eventually makes the machine unusable.
Replacing a washing machine door seal is one of the more involved DIY appliance repairs — it requires some disassembly and patience — but it’s absolutely manageable for a careful homeowner and saves several hundred dollars compared to a service call. This guide walks through the full process.
Signs You Need to Replace the Door Seal
- Water puddles on the floor in front of the machine during or after cycles
- Visible tears, cracks, or holes in the rubber gasket
- Black mould growth in the gasket folds that doesn’t respond to cleaning
- Persistent musty smell even after thorough cleaning
- The gasket feels brittle, stiff, or sticky rather than soft and pliable
A seal that’s just dirty or mouldy on the surface — but structurally intact — doesn’t need replacement. Try deep cleaning first. A seal that’s physically damaged or leaking needs to be replaced.
What You’ll Need
- Replacement door boot seal (must match your exact model — find the model number on the inside door frame or rear panel)
- Flathead screwdriver and Phillips screwdriver
- Pliers
- Torx bit set (some models use Torx screws)
- A clean cloth and a bucket
Step 1: Order the Correct Part
The door boot seal is model-specific. Using your model number, search the manufacturer’s parts site or a reputable appliance parts supplier. Take a photo of the old gasket and the part number printed on it if visible. Installing the wrong seal — even one that looks similar — will result in leaks.
Step 2: Disconnect Power and Water
Unplug the machine before starting any disassembly. If possible, turn off the water supply valves at the wall. Have a bucket and towel ready — some water will likely spill when you access the drum area.
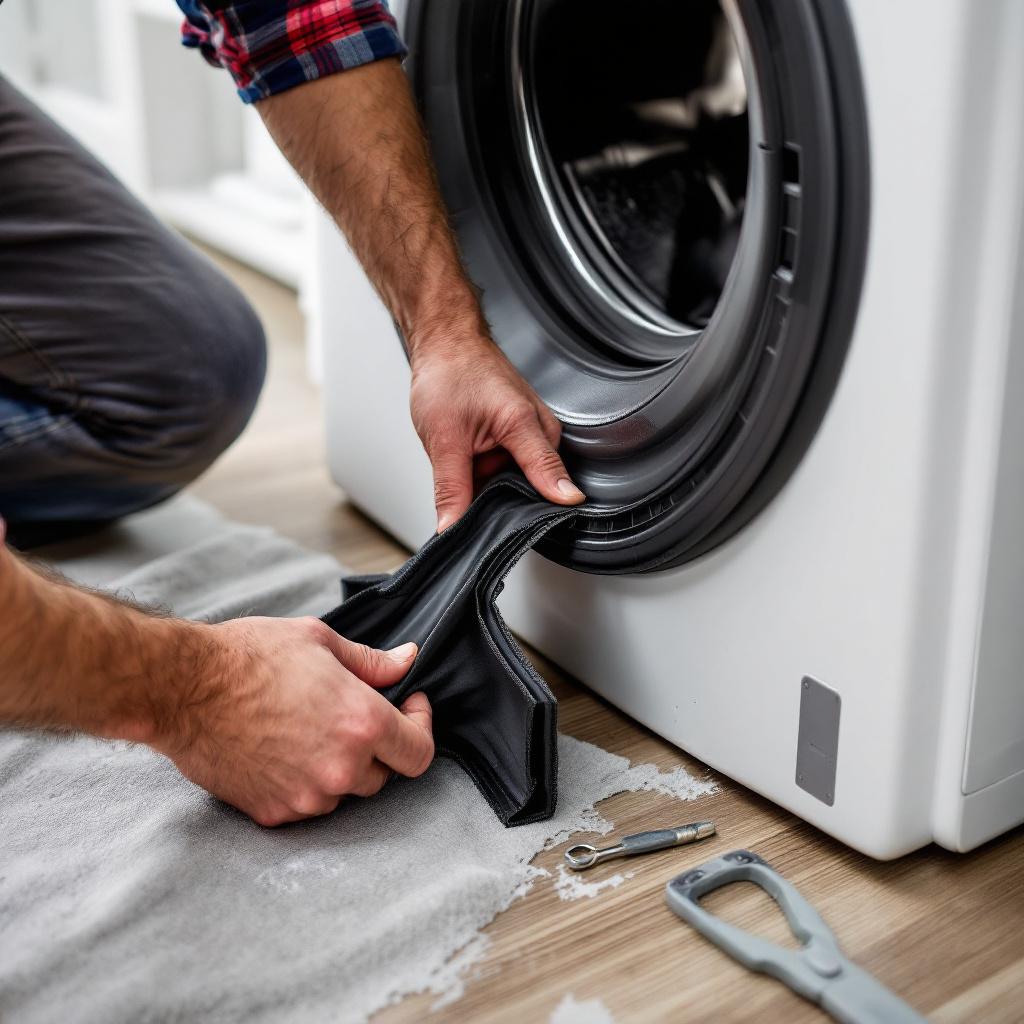
Step 3: Remove the Old Seal
The door boot seal is held in place by a spring-loaded clamp ring around the door opening. This clamp needs to come off to free the outer edge of the seal.
- Look for the clamp retaining spring at the bottom or side of the door opening. Use a flathead screwdriver to pry the spring end out of its seat, then work the clamp off the groove.
- With the clamp removed, the outer lip of the gasket can be pulled free from the door frame.
- Reach inside the drum opening and feel for the inner lip of the gasket. It’s held in a groove in the tub — work it free all the way around.
- Note the position of any drain holes at the bottom of the gasket — the replacement must be installed with these in the same position.
Step 4: Install the New Seal
- With the new seal, locate any markings indicating top or bottom. Many seals have a small arrow or the word “top” — install these correctly or the drain holes will be mispositioned.
- Press the inner lip of the new seal into the tub groove all the way around. Start at the top and work around both sides — the bottom section usually goes last.
- Once the inner lip is fully seated, fold the outer lip forward over the door frame and seat it in the outer groove.
- Reinstall the spring clamp — push one end into its seat first, then use a screwdriver to stretch it around the groove until the other end clicks back into place.
- Check all the way around the clamp to ensure it’s fully seated in the groove with no lifted sections.
Step 5: Test for Leaks
Run a short hot water cycle with no laundry. Stand and watch for the full cycle, checking the door seal area for any drips or seepage. A properly installed seal should be completely dry after the cycle.
Why Front-Loader Door Seals Fail
The most common causes of premature seal failure are mould damage (particularly if the door is kept closed and the seal never dries out between cycles), hard objects left in pockets that get trapped in the seal folds during cycles, and general rubber degradation over time — particularly in machines that run hot cycles frequently.
Preventing mould on the new seal is straightforward: always leave the door ajar after a cycle, wipe the gasket dry with a clean cloth after each wash, and run a cleaning cycle monthly. Our guide on how to maintain your washing machine covers the full routine that prevents seal damage and other common front-loader problems.
If the Seal Is Intact but the Machine Leaks
A front-loader that leaks but has an undamaged door seal may have a different source — the pump filter housing, the drain hose connection, or a door latch that doesn’t close tightly enough to compress the seal properly. Our article on signs your washing machine needs professional repair helps identify when a leak is beyond a seal replacement.
When to Call a Professional
Door seal replacement is manageable for most homeowners with basic mechanical aptitude and the right part. If the clamp spring snaps during removal, if the seal doesn’t seat properly after two attempts, or if the leak persists after replacement — call a technician. A misinstalled seal can cause significant water damage.
North Vancouver Appliances handles washing machine repairs including seal replacement across the North Shore. Visit our washing machine repair page to book a service visit.
Also, if you’re seeing your machine not spinning or draining properly, that’s a separate issue worth checking at the same time — sometimes what looks like a seal leak is actually water backing up from a drainage problem.